Ever wondered how you could revisit the places you’ve been to just by using your smartphone? Google Maps is not only a tool for navigation but also keeps a detailed record of your locations with its Timeline feature. It uses your location history to pinpoint where you have been on any given day, provided that your location services are turned on. This feature can be an excellent way to recall your travels, confirm your arrival times, or just take a trip down memory lane. Now, let’s explore how you can easily access and use Google Maps Timeline to see where you’ve been.
Accessing Your Google Maps Timeline on Mobile
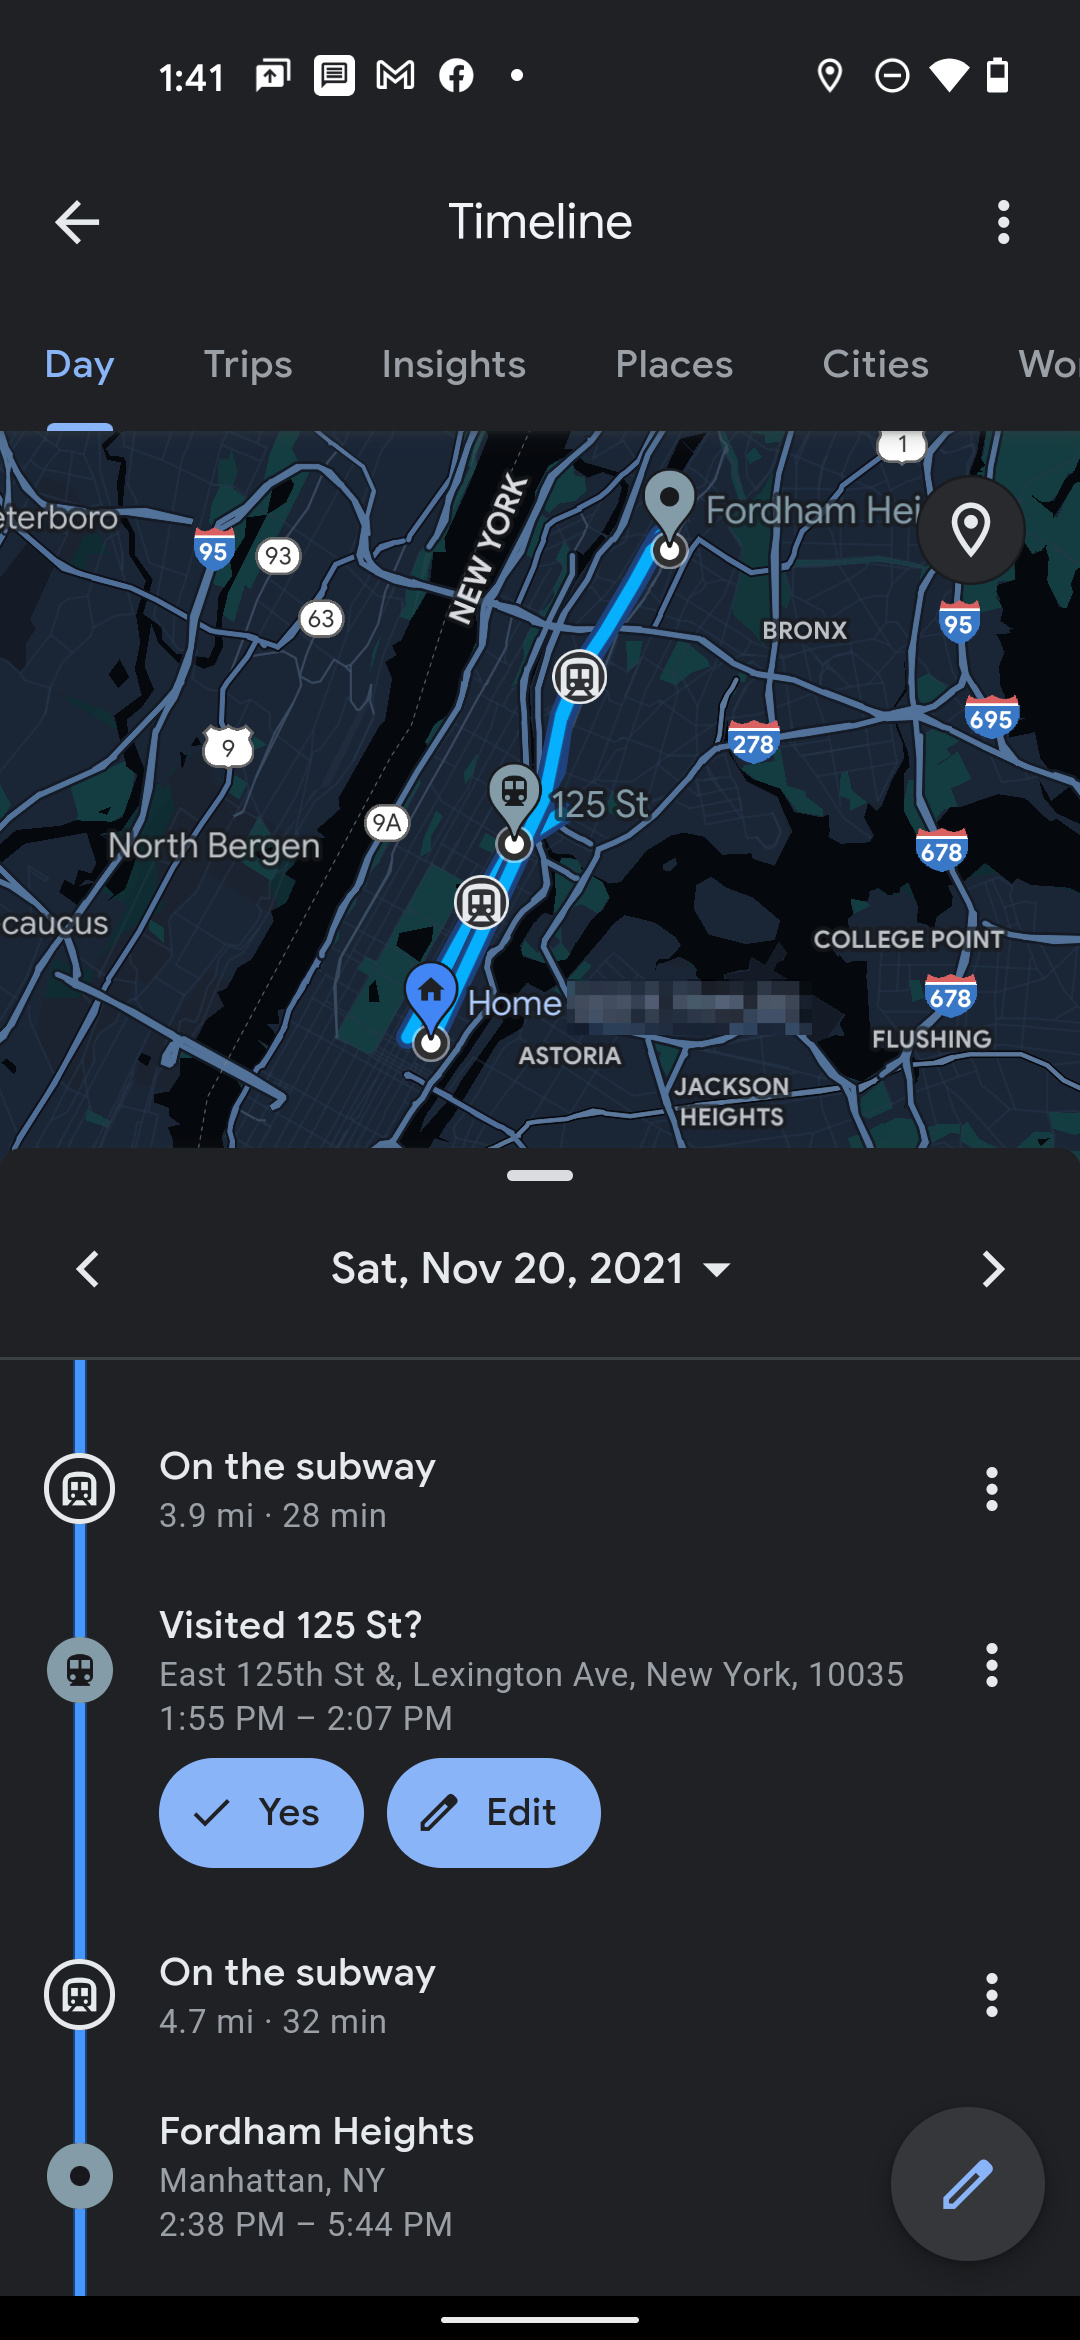
Google Maps Timeline is a virtual journal of your whereabouts, and accessing it on your mobile device is straightforward. This feature works on any smartphone with the Google Maps app installed and location history enabled.
Steps:
-
Open Google Maps App: Start by opening the Google Maps app on your mobile device. Ensure you’re signed in to the Google account associated with your location history.
-
Tap on Your Profile Icon or Picture: Your profile icon is usually located at the top right corner of the screen. Tapping here will open a menu.
-
Select ‘Your Timeline’: In the menu that appears, there will be an option for ‘Your Timeline’. Tap it to move forward.
-
Navigate Your Timeline: Once in the Timeline, you’ll see a map and a bar at the bottom. You can navigate your visited locations by selecting different days, places, or modes of travel.
-
Use the Calendar Tool: For a specific date, use the calendar icon to pick the date you’re interested in.
-
View Detailed Information: By selecting a specific location or trip, you can view detailed information such as the time spent there and the route traveled.
Summary:
The mobile method offers a convenient way to check your past locations while on the go. The benefit is the ease of use and immediate access to the information you need. A potential downside could be less detailed information compared to the desktop version, and not everyone is comfortable with the privacy implications of their location being stored.
Checking Your Google Maps Timeline on Desktop
For those who prefer a larger screen or are working from a desktop computer, viewing the timeline is just as accessible, and often provides a more detailed view compared to the mobile version.
Steps:
-
Navigate to Google Maps Website: Using your preferred web browser, go to the Google Maps website.
-
Sign In to Your Google Account: If you’re not already signed in, click the ‘Sign In’ button at the top right corner and enter your details.
-
Access the Menu: Look for the three horizontal lines (the menu icon) in the top left corner of the screen and click on it.
-
Select ‘Your Timeline’: In the menu, there will be an option for ‘Your Timeline’. Click on this to proceed.
-
Explore Your Timeline: Similar to the mobile app, you can explore your timeline by dates, places, and travel methods. Use the search bar and calendar for specific locations and dates.
-
See Detailed Trip Information: Click on any entry to see more details, such as travel routes and time spent at each location.
Summary:
Using the desktop version for reviewing your Google Maps Timeline allows for a broader overview and more comfortable navigation with the advantage of a bigger display. However, it requires having a computer and internet access, which may not always be convenient when you’re on the move.
Editing Your Location History
There might be times when you want to edit your location history due to inaccuracies or just for personal preference.
Steps:
-
Open Your Timeline: Follow the steps mentioned above to open your timeline on the device of your choice.
-
Select a Day or Location: Find the day or location you want to edit either by scrolling or using the calendar tool.
-
Edit or Remove Information: You can edit the location by adding notes or changing the time spent. If you want to delete a stop from your day, there will be an option for ‘Remove Stop’.
-
Confirm Your Changes: Make sure you save any edits or confirm deletions when prompted.
Summary:
Editing your location history allows greater control over what is stored and displayed. This can be useful for fixing errors in your timeline or removing locations for privacy reasons. However, editing your timeline can be time-consuming if there are many changes to make.
Disabling Location History
For those who value privacy over the convenience of saved locations, disabling location history is an option.
Steps:
-
Go to Google Maps or Your Google Account Settings: This can be done through the Google Maps app or by signing into your Google account on a browser.
-
Find Your Account or Location History Settings: Navigate to the ‘Personal info & privacy’ section or find ‘Location History’ in the Google Maps menu.
-
Turn off Location History: Toggle the ‘Location History’ setting to off. Confirm this action when prompted.
-
Understand the Impact: Be aware that turning off location history will disable the Timeline feature and could affect other location-based services.
Summary:
Disabling location history enhances your privacy, stopping Google from storing future location data. However, this also means you won’t be able to use the Timeline feature, and some personalized services may not function as well without your location history.
Viewing Location History for Another Device
If you use multiple devices or share a device with family, you might need to check location timelines for different devices.
Steps:
-
Open Google Maps Timeline: Use the steps provided earlier to access your timeline.
-
Choose the Device: At the bottom of the Timeline screen, you may find a way to select different devices associated with your Google account.
-
Review the Timeline for the Selected Device: Once a device is selected, the timeline will update to show the history for just that device.
Summary:
Viewing location history for different devices linked to the same Google account can help you keep track of multiple timelines. This can also be useful for managing the location data of family members in shared devices. The downside is that it may complicate privacy controls, as multiple devices mean more data to manage.
Deleting Location History
Whether you’re concerned about privacy or just want to clear out old data, deleting your location history is possible.
Steps:
-
Access ‘Your Timeline’: Get to your timeline through the maps app or on a web browser as you’ve done before.
-
Open Settings: Look for the gear icon or ‘Settings’ in the Timeline view.
-
Choose to Delete All Location History: In settings, you will find an option to ‘Delete all Location History’.
-
Acknowledge the Warning and Confirm: Google will warn you about what you’ll lose by deleting this history. If you’re sure, proceed with the deletion.
Summary:
Deleting your location history might give peace of mind regarding privacy, but it is irreversible. You’ll no longer have access to your Timeline data, and some services may not work without your history.
Automating Deletion of Location History
Google provides an option to automatically delete your location history after a certain period.
Steps:
-
Access Your Activity Controls: Find this through your Google account’s privacy settings or through the Google Maps settings menu.
-
Choose to Automatically Delete Location History: Look for the option to automatically delete and select how often you’d like it to happen (e.g., every 3 months).
-
Save Your Preferences: Confirm and save your selection to automate this process.
Summary:
Automating the deletion of your location history blends the benefits of both privacy and convenience. Your timeline will retain recent history, but old data won’t be stored indefinitely.
Managing Your Timeline’s Places
Google Maps Timeline can recognize certain places and keep these in your history.
Steps:
-
Add Important Places: You can add places like ‘Home’ or ‘Work’ for better timeline accuracy.
-
Edit Place Details: Rename, move, or remove a place from ‘Your Places’ in Google Maps settings.
-
Review and Adjust Your Timeline: As these places are added or adjusted, your timeline will reflect these changes for a more personalized overview.
Summary:
Customizing places in your timeline allows for a refined and accurate record of your frequent locations. It can help you quickly review your common routes and times.
Review and Refine the Data Google Uses
You can influence the location data Google stores by reviewing and refining your Web & App Activity settings.
Steps:
-
Go to Web & App Activity Settings: Access this through your Google account’s privacy settings.
-
Adjust Collection Preferences: You can turn Web & App Activity on or off and control whether your location history is included.
-
Confirm Your Choices: Make any changes and confirm them to update your preferences.
Summary:
Reviewing and adjusting your Web & App Activity settings can help you have better control over what data Google collects. However, remember that this may impact service personalization.
Generating Personalized Reports
Get insights into your frequent locations and activities with personalized reports generated from your timeline data.
Steps:
-
Access the Location History Setting: Find this in the Google Maps Timeline settings.
-
Select ‘Manage Location History’: From here, you might find options to generate reports based on your data.
-
Review Your Reports: These can provide interesting insights and show patterns in your travel behavior.
Summary:
Personalized reports can offer you a unique glimpse into your lifestyle and habits, potentially helping with future planning. However, generating such reports means you’re comfortable with the data analysis based on your movements.
Conclusion
Using Google Maps Timeline can be a powerful way to keep a digital diary of the places you’ve been. It’s a handy feature for revisiting your favorite spots, keeping track of your travels, or simply understanding your habits. It also provides you with the right tools to maintain control over your digital footprint, balancing convenience and privacy to suit your needs.
FAQs
Q: Can I use Google Maps Timeline if I have “Location” turned off on my device?
A: No, the Timeline feature requires location history, which won’t be recorded if you have your device’s location services turned off.
Q: Is Google Maps Timeline secure and private?
A: Google assures users that your Timeline is private and visible only to you. However, it’s important to secure your Google account with strong passwords and possibly two-factor authentication to ensure that your location history remains confidential.
Q: Can I retrieve my location history after I’ve deleted it?
A: Once you delete your location history, it cannot be recovered. Be mindful when choosing to delete this data.