In a world where technology is integral to daily life, staying up-to-date is not just necessary—it’s essential. Git, the widely-used version control system, is a cornerstone for developers and teams collaborating on projects. It’s crucial for ensuring the smooth integration of changes and maintenance of your project’s integrity. If you’re new to Git, or just wanting to make sure you’re using the best version available, updating your Git version is a smart move. Let’s demystify the process and make sure you can confidently check and update your Git version.
Checking Your Git Version
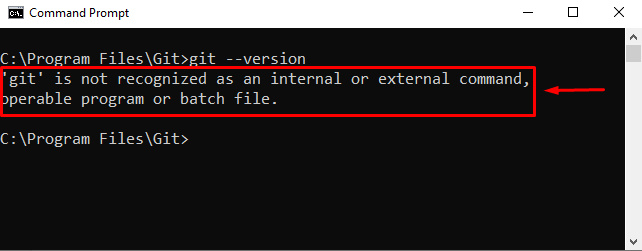
Before you update Git, you need to know which version you’re currently using to see if an update is even necessary. This is a simple task that can be accomplished with a single command.
1. Open your command line interface (CLI):
- On Windows, this is usually done by searching for ‘CMD’ or ‘Command Prompt’ in your start menu.
- On MacOS, you can open the ‘Terminal’ application.
- On Linux systems, you can open a terminal window from your applications menu, or use a keyboard shortcut like
Ctrl+Alt+T.
2. Within the CLI, type git --version and press Enter.
3. The version number will be displayed:
- It will look something like
git version 2.30.0.
Summary
Checking your current Git version is fast and straightforward. It’s the first step before deciding whether to update. There’s no downside to this action, and it ensures you’re informed about the tools you’re using.
Updating Git on Windows
Windows users can update Git using a few different methods. The simplest one is to download and run the installer from the official Git website.
1. Visit the Git website:
- Navigate to
https://git-scm.com/in your web browser.
2. Download the latest version:
- Click on the download link for Windows.
- The file should automatically download to your computer.
3. Run the installer:
- Once the download is complete, open the file to start the installation process.
- Follow the on-screen instructions, sticking to the default settings if you’re unsure.
Summary
Updating Git on Windows is as easy as downloading and running the latest installer. The benefit is immediate access to new features and security updates. The downside might be the need to restart any current Git sessions or navigate through the installation prompts if you’re not familiar with default settings or preferences.
Updating Git on MacOS
For MacOS, you can update Git using the Homebrew package manager, which keeps track of software and makes it easier to install and update.
1. Install Homebrew (if not already installed):
- Open the Terminal application.
- Enter
/bin/bash -c "$(curl -fsSL https://raw.githubusercontent.com/Homebrew/install/HEAD/install.sh)"and press Enter. - Follow any additional on-screen instructions to complete the installation.
2. Update Homebrew:
- In the Terminal, type
brew updateand hit Enter.
3. Install the latest version of Git:
- Now type
brew upgrade gitand press Enter.
Summary
Updating Git on MacOS via Homebrew manages the complexities of maintaining software versions for you. It ensures you’re working with the latest tools and features, although understanding Homebrew installation might be a learning curve for some users.
Updating Git on Linux
Linux users can update Git using their package manager. The commands may vary depending on the distribution but are generally similar.
1. Open a terminal window.
2. Update your package list:
- On Debian-based systems (like Ubuntu), enter
sudo apt-get update. - On Red Hat-based systems (like Fedora), use
sudo yum check-update.
3. Install the latest Git version:
- On Debian-based systems, then enter
sudo apt-get install git. - On Red Hat-based systems, use
sudo yum install git.
Summary
Linux’s package manager makes updating Git a simple affair. It’s a direct way to receive updates and security patches, though some might find the variety of Linux distributions and respective commands a bit confusing.