Playing your favorite Xbox games on a MacBook screen can offer a whole new level of convenience and portability. You might be inclined to think that connecting these two devices requires substantial technical savvy, but the truth is, with the right tools and guidance, it’s a task that can be accomplished with relative ease. This comprehensive guide is designed to walk you through the process, ensuring that you can enjoy your gaming experience with minimal fuss.
Using an HDMI Adapter
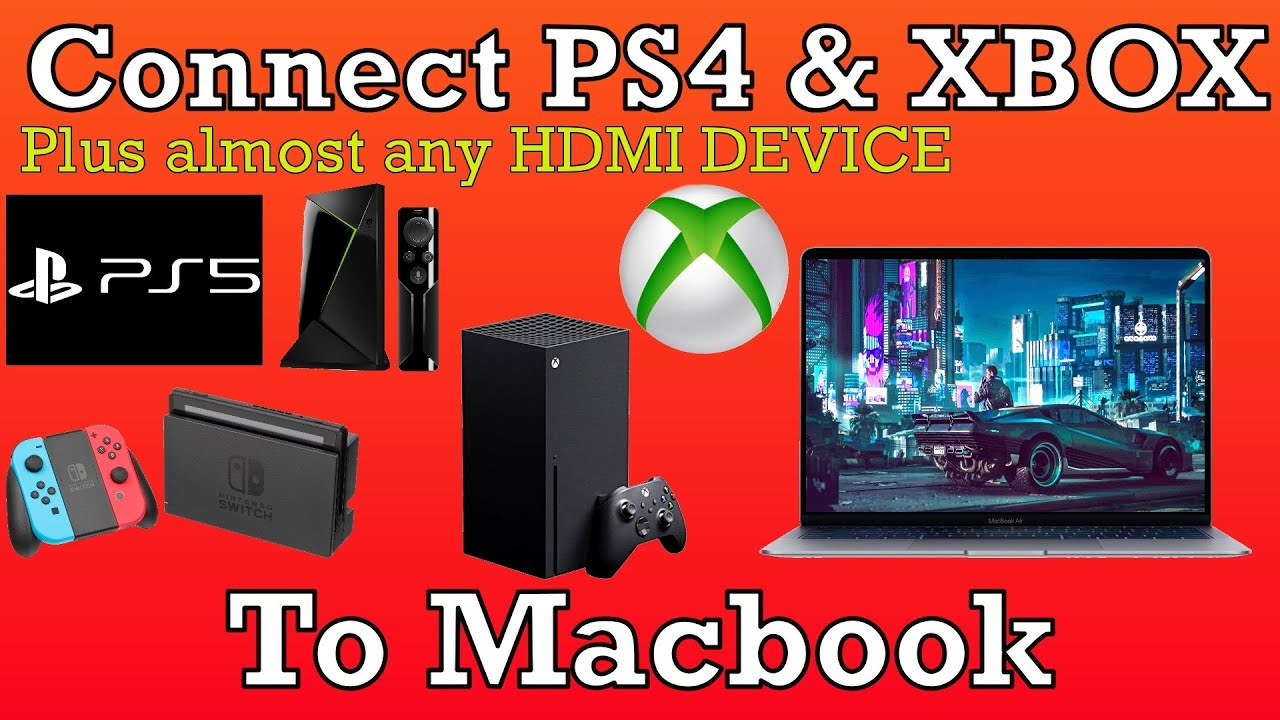
Connecting an Xbox to a MacBook typically involves an HDMI connection, which requires an adapter since MacBooks do not have an HDMI port.
Connect your Xbox to your MacBook using an HDMI adapter in the following steps:
- Gather Your Equipment: You will need an Xbox, a MacBook, an HDMI cable, and an HDMI adapter that is compatible with your MacBook (such as a USB-C to HDMI adapter if you have a newer MacBook with Thunderbolt 3 ports).
- Turn Off Both Devices: To avoid any potential issues, start by turning off both your Xbox and MacBook.
- Connect the HDMI Adapter to Your MacBook: Plug the HDMI adapter into the corresponding port on your MacBook.
- Connect the HDMI Cable to Your Xbox: Take one end of the HDMI cable and plug it into the HDMI out port on your Xbox.
- Connect the HDMI Cable to the Adapter: Take the other end of the HDMI cable and plug it into the HDMI adapter that’s connected to your MacBook.
- Turn on Your Xbox: Power on your Xbox console.
- Select the Right Input: On your MacBook, you may need to select the correct input or source that corresponds to the HDMI connection. This process can vary depending on the software you’re using to capture the HDMI input.
It’s a straightforward method that doesn’t change the functionality of either device but requires additional software to capture the HDMI input, as MacBooks cannot directly display input from an HDMI source. The adapter is merely a physical bridge between the two. You’ll enjoy playing games on a bigger screen, but you incur the cost of an adapter and potential software.
Screen Mirroring Software
Screen mirroring software can capture the video output signal from your Xbox and display it on your MacBook screen.
Digitalize your gameplay experience with the following steps:
- Choose Screen Mirroring Software: Find reliable screen mirroring software that is compatible with both Xbox and MacBook, such as OneCast.
- Install the Software on Your MacBook: Download and install the chosen software following the manufacturer’s instructions.
- Connect Xbox to Your Local Network: Make sure your Xbox is connected to the same local network as your MacBook, either through a wired or wireless connection.
- Run the Screen Mirroring Software: Open the screen mirroring software on your MacBook.
- Follow Software Instructions to Connect: The software should provide instructions on how to detect and connect to your Xbox. Follow these instructions carefully.
- Begin Streaming: Once connected, you should see your Xbox screen mirrored on your MacBook. Begin playing as you normally would.
This solution offers a seamless bridge between your Xbox and MacBook, allowing you to play games without additional cables. However, it relies on your local network’s performance, which can affect the stream’s quality.
Using Xbox Cloud Gaming (Project xCloud)
Microsoft’s Xbox Cloud Gaming service allows you to play Xbox games directly on your MacBook via a web browser, without the need for an HDMI connection.
Stream Xbox games with these steps:
- Check for Compatibility: Make sure you have a stable internet connection and a compatible browser, such as Microsoft Edge, Google Chrome, or Safari.
- Subscribe to Xbox Game Pass Ultimate: Xbox Cloud Gaming is available as part of the Xbox Game Pass Ultimate subscription.
- Visit the Xbox Cloud Gaming Website: Navigate to the official Xbox Cloud Gaming site on your MacBook.
- Sign in to Your Microsoft Account: Use your Microsoft account credentials that are associated with your Xbox Game Pass Ultimate subscription to log in.
- Choose a Game to Play: Browse the available game titles and select the one you want to play.
- Play the Game: The game should start streaming on your MacBook browser, allowing you to play without a direct connection to your Xbox.
A significant advantage of Xbox Cloud Gaming is that there’s no need for an HDMI connection, and you can play anywhere with an internet connection. However, you will experience latency and require a strong and stable internet connection to enjoy games without interruption.
Using a Video Capture Device
Professional streaming or recording gameplay often uses a video capture device, which can also allow you to display your Xbox screen on your MacBook.
Capture and project with these steps:
- Acquire a Video Capture Device: Purchase a compatible video capture device, ensuring it has HDMI-in and can connect to your MacBook, typically via USB.
- Install Required Drivers or Software: Follow the manufacturer’s instructions to install any necessary drivers or software on your MacBook.
- Connect Xbox to Video Capture Device: Use an HDMI cable to connect your Xbox’s HDMI-out port to the video capture device’s HDMI-in port.
- Connect Video Capture Device to MacBook: Use a USB cable or other appropriate connection to link your video capture device to your MacBook.
- Set Up the Software: Open the video capture software on your MacBook and configure it to recognize the video capture device.
- Display Xbox Screen: You should now see your Xbox display appearing on your MacBook through the video capture software.
While this method offers high-quality video output and the flexibility to record or stream, it can be expensive due to the costs of a video capture device, and it may require some technical setup.
Using a Wireless HDMI Transmitter
Wireless HDMI transmitters can send the video and audio signal from your Xbox to your MacBook without the need for cables.
Implement this wireless setup with the following steps:
- Purchase a Wireless HDMI Kit: Ensure the kit includes a transmitter (to connect to the Xbox) and a receiver (to connect to the MacBook).
- Connect the Transmitter to Xbox: Attach the transmitter to your Xbox’s HDMI-out port.
- Connect the Receiver to MacBook: Since MacBooks don’t have HDMI ports, you’ll need to use an HDMI to USB (or HDMI to USB-C) adapter to connect the wireless HDMI receiver to your MacBook.
- Install Any Necessary Software on MacBook: Based on the wireless HDMI kit’s instructions, you may need to install software to receive and display the signal on your MacBook.
- Power on Both Transmitter and Receiver: Turn on both devices and allow them to sync, which should happen automatically.
- Begin Streaming: You should now see the Xbox display on your MacBook.
A wireless HDMI transmitter provides a cable-free setup and the flexibility to place your devices anywhere. The downside is potential signal interference and the cost of the wireless HDMI kit and necessary adapters.
Connecting via Remote Play
The Xbox Console Companion app offers a Remote Play feature that lets you stream games to your MacBook through your local network.
Deploy this streaming strategy with the following instructions:
- Check Xbox Settings: Make sure your Xbox is set to allow game streaming. You can find this under the ‘Devices & connections’ settings.
- Install Xbox Console Companion App: Download and install the Xbox Console Companion app on your MacBook.
- Connect Xbox and MacBook to the Same Network: Ensure both devices are on the same Wi-Fi network.
- Launch the App and Sign In: Open the Xbox Console Companion app and sign in with your Xbox account.
- Connect to Your Xbox: The app should detect your Xbox on the network. Select it to connect.
- Start Streaming: Once connected, you can start streaming games from your Xbox to your MacBook.
Remote Play is convenient and cost-effective since it doesn’t require any additional hardware other than your MacBook and Xbox. However, it’s dependent on the strength and stability of your local network for a smooth gaming experience.
Using a Dual-Boot Setup with Windows
By installing Windows on your MacBook through Boot Camp, you can use Xbox’s native streaming capabilities as if you were on a PC.
Set up a dual-boot environment by:
- Prepare a Windows 10 ISO File: Download a Windows 10 ISO file from Microsoft’s official website.
- Open Boot Camp Assistant: On your MacBook, open the Boot Camp Assistant from the ‘Utilities’ folder.
- Install Windows on Your MacBook: Follow the Boot Camp Assistant prompts to partition your drive and install Windows. You’ll need a valid Windows license.
- Boot into Windows: Once installed, restart your MacBook and hold down the Option key to select Windows during startup.
- Install Xbox App: In Windows, download and install the Xbox app from the Microsoft Store.
- Connect to Xbox: Use the Xbox app to connect to your Xbox console within the same network and start streaming your games.
Dual-booting provides a native Windows experience, including Xbox gaming capabilities, on your MacBook hardware. The downside is the required hard drive space and the need to switch between macOS and Windows.
Tips for a Successful Connection
While there are a variety of methods you can use to connect your Xbox to your MacBook, here are some additional tips and tricks to ensure a smooth connection:
- Check Compatibility: Always check the compatibility of your devices and software beforehand to avoid any connection issues.
- Update Software and Firmware: Make sure the firmware on your Xbox and the software on your MacBook are both updated to the latest versions for best performance and security.
- Optimize Network Settings: For methods that rely on streaming over a network, ensure your network settings are optimized for gaming. Use a wired connection if possible to reduce latency.
- Invest in Quality Cables and Adapters: For methods requiring cables and adapters, invest in high-quality ones to ensure the best signal transmission and to prevent connection losses.
- Consider Professional Help: If you’re not confident in your technical skills, consider seeking professional help to ensure your connection is set up correctly.
By following these tips, you can maximize the chances of a successful connection between your Xbox and MacBook, leading to a better gaming experience.
Conclusion
Connecting your Xbox to a MacBook can be achieved through several inventive solutions, each with its unique advantages and potential drawbacks. Whether you prefer a wired connection for reliability, streaming over your network for convenience, or leveraging the latest in cloud gaming technology, there’s an option that fits your needs. Remember to account for compatibility and network stability, and choose an approach that aligns with your gaming habits and technical comfort level.
FAQs
Q: Can I play my Xbox directly on my MacBook screen?
A: No, MacBooks do not support direct HDMI input. You’ll need to use one of the methods mentioned, such as an HDMI adapter with capture software, streaming, or cloud gaming, to play Xbox on your MacBook screen.
Q: Is lag an issue when streaming games from Xbox to MacBook?
A: Lag can be an issue, particularly if you’re using a wireless connection or a network that isn’t optimized for gaming. Wired connections and stable, fast internet can help minimize lag.
Q: Do I need to buy additional software to connect my Xbox to a MacBook?
A: In some cases, yes. For instance, you might need to purchase screen mirroring software or use a video capture device that requires software. However, options like Xbox Cloud Gaming only require a subscription service, and Remote Play can be used with free apps.


