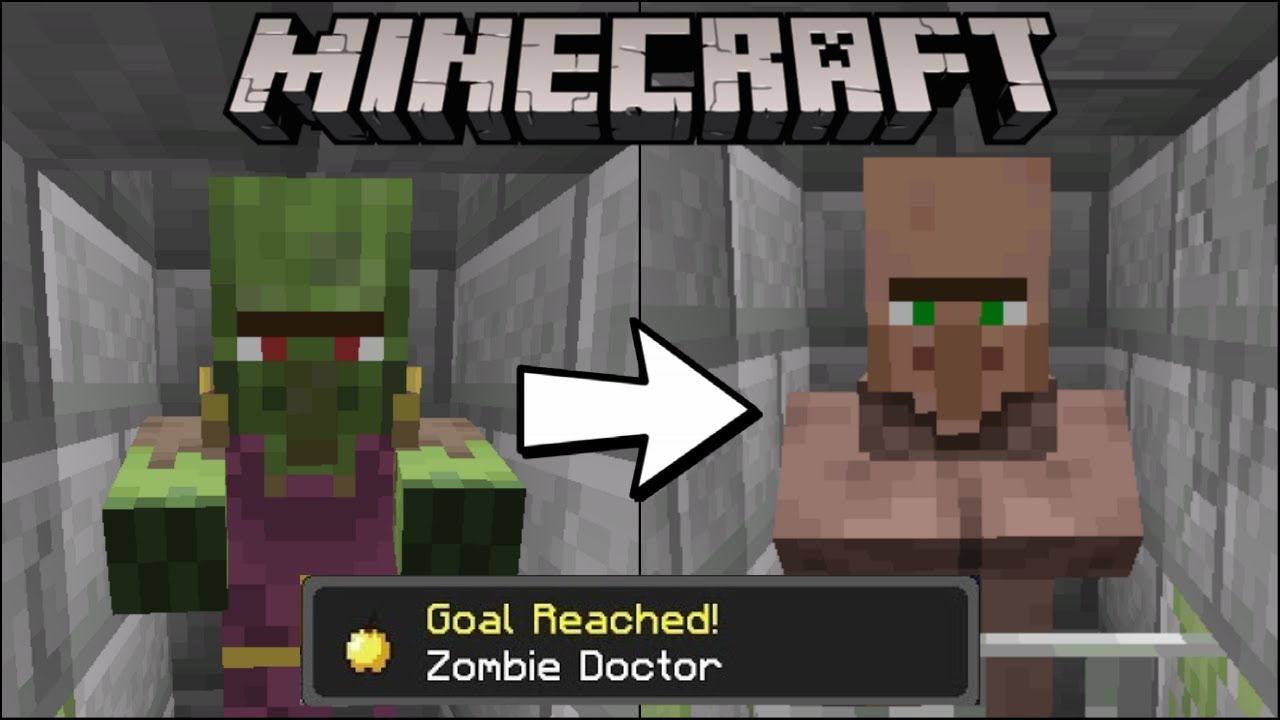
In the enchanting world of Minecraft, players often encounter a variety of characters, including the unfortunate zombie villagers. These creatures, once helpful villagers, have succumbed to the plague of the zombie curse. However, with the right tools and a kind heart, players have the power to bring them back to the world of the living as productive members of their Minecraft communities. Bringing a zombie villager back to normal is not only a rewarding experience but it also benefits your gameplay. Follow this comprehensive guide to learn how to cure a zombie villager and turn misfortune into opportunity.
Gathering the Essentials
Before you embark on the journey to cure a zombie villager, it’s important that you gather the necessary items required for the curing process. These items include a golden apple, a potion of Weakness, and typically also a structure to safely hold the zombie villager during the curing process.
Detailed steps:
- Craft a Golden Apple: To create a golden apple, you’ll need 8 gold ingots and an apple. Place the apple in the center of the crafting table and surround it with the gold ingots.
- Brew a Potion of Weakness: You need a brewing stand, blaze powder for fuel, water bottles, and the potion ingredients—fermented spider eye (crafted from sugar, brown mushroom, and spider eye). Brew the potion by placing the water bottle in the brewing stand and adding the fermented spider eye.
- Prepare a Structure: Build a small structure with a roof to protect the zombie villager from the sun, as sunlight burns them.
Summary:
By preparing these essentials, you significantly increase your chances of successfully curing a zombie villager. However, gathering these materials requires some preparation and knowledge of brewing and crafting.
Luring and Trapping a Zombie Villager
Once you have the necessary items, you’ll need to find a zombie villager and safely contain it so you can start the curing process.
Detailed steps:
- Locate a Zombie Villager: They can be found at nighttime or in dark spaces like caves.
- Lure the Zombie Villager: Be cautious and ensure there’s a clear path to the structure you’ve built for containment.
- Trap the Zombie Villager: Lead the zombie villager into the structure and quickly close off any exits to prevent escape.
Summary:
This step requires patience and precision but successfully luring and trapping a zombie villager means you’re one step closer to curing. Be mindful of the risk of damage to yourself during this process.
Administering the Cure
With your zombie villager trapped, it’s time to administer the ingredients that will cure them.
Detailed steps:
- Throw the Potion of Weakness: Stand at a safe distance and throw the potion at the zombie villager by right-clicking or using the ‘use’ game command.
- Feed the Golden Apple: Approach the villager and ‘use’ the golden apple on them.
Summary:
This is the most crucial step, and it’s straightforward. Once done, you’ll notice visual effects showing that the cure is taking effect. It takes around 2 to 5 minutes for the transformation to complete. During this time, ensure that the villager remains protected from any potential harm.
Protection While Curing
It’s critical to protect your patient while the cure takes effect, as the zombie villager will still be vulnerable.
Detailed steps:
- Ensure the Structure is Secure: Double-check that there’s no way for other mobs to enter.
- Stay Vigilant: Remain nearby to ward off any roaming hostile mobs.
Summary:
This protection ensures the safety of both you and the zombie villager, as any damage could reset the curing process or kill the villager. Although it may be time-consuming to guard the villager, consider it an investment in your future ally.
The Final Transformation
As you wait for the cure to take effect, you’ll start to notice changes.
Detailed steps:
- Watch for visual signs of the cure taking effect, such as red particles that swirl around the zombie villager.
- Wait patiently until the transformation is complete, which can take a few minutes.
Summary:
This waiting period is exciting, as you’re about to gain a new villager. There are no downsides, yet it requires your patience.
Benefits of Curing
Understand the advantages of going through this process.
Detailed steps:
- Villagers can offer trades, including rare items.
- They contribute to the population, which can lead to the spawning of an Iron Golem.
Summary:
Cured villagers often grant better trade deals out of gratitude, improving gameplay. However, the initial investment of time and resources can be significant.
Considerations for Survival Mode
When playing in survival mode, curing a zombie villager can be both challenging and resource-intensive.
Detailed steps:
- Enchant armor and weapons to protect yourself against mobs while curing.
- Strategically plan your resource use to ensure you can spare the gold for a golden apple.
Summary:
This process adds a layer of complexity and risk in survival mode, but it also adds a depth of strategy and fulfillment upon successful curing.
Curing in Multiplayer
Working with other players can make curing a zombie villager easier and more efficient.
Detailed steps:
- Coordinate roles with other players for trapping, curing, and protecting.
- Share resources to speed up the preparation process.
Summary:
Curing in multiplayer adds a social dimension and can be more efficient, but it requires clear communication and cooperation.
Advanced Tips
As your skill grows, so will your strategies.
Detailed steps:
- Use splash potions of Weakness to cure multiple zombie villagers at once.
- Convert a zombie spawner into an experience and villager farm for a steady supply of villagers.
Summary:
Advanced techniques can be rewarding, increasing your capability within the game, but they also require an understanding of more intricate game mechanics.
Maintaining a Village
After curing multiple zombie villagers, you might build and maintain an entire village.
Detailed steps:
- Provide adequate housing, with beds and workstations, to encourage the villagers to breed.
- Defend against hostile mobs with strategic lighting and Iron Golems.
Summary:
Maintaining a village post-cure can lead to a thriving player economy and contribute to long-term gameplay objectives. It requires continuous effort but is immensely rewarding.
Community Involvement
Engage with the larger Minecraft community for additional support.
Detailed steps:
- Look for online resources such as forums, wikis, and videos that offer different perspectives and techniques.
- Join multiplayer servers to learn from experienced players and collaborate.
Summary:
Leveraging the community for help and advice can greatly enhance your curing process and overall gameplay experience. It also exposes you to creative ideas and strategies you may not have considered.
In conclusion, curing a zombie villager in Minecraft is a rewarding process that not only tests your gaming skills but also unlocks new possibilities for trade and community building within your game world. While it requires effort, resources, and patience, the transformation from a hostile mob to a valuable ally is a fascinating journey that epitomizes the magic of Minecraft.
FAQs:
Q: Can you cure a baby zombie villager?
A: Yes, baby zombie villagers can be cured using the same process as adult ones. They will transform into baby villagers and eventually grow up.
Q: How do you protect a zombie villager during the day?
A: To protect a zombie villager from sunlight, you should trap it in a structure with a roof or trap it underground. Sunlight will burn and eventually kill them.
Q: Can any zombie be cured or just zombie villagers?
A: Only zombie villagers can be cured. Regular zombies do not have a cure and will always remain hostile.