A computer keyboard is your daily bridge to virtual tasks, communication, and entertainment. Much like the keys of a piano, each stroke brings a character to life, contributing to the symphony of digital interaction. But when a key stops responding, it can feel like hitting a sour note, disrupting your workflow and efficiency. Fret not! Even without advanced technical skills, there are practical steps you can take to bring your keyboard back to its harmonious state. From cleaning under the keys to adjusting your software settings, we’ll explore various solutions to fix those unresponsive or broken keys and restore your smooth typing experience.
Reattaching Loose Keys
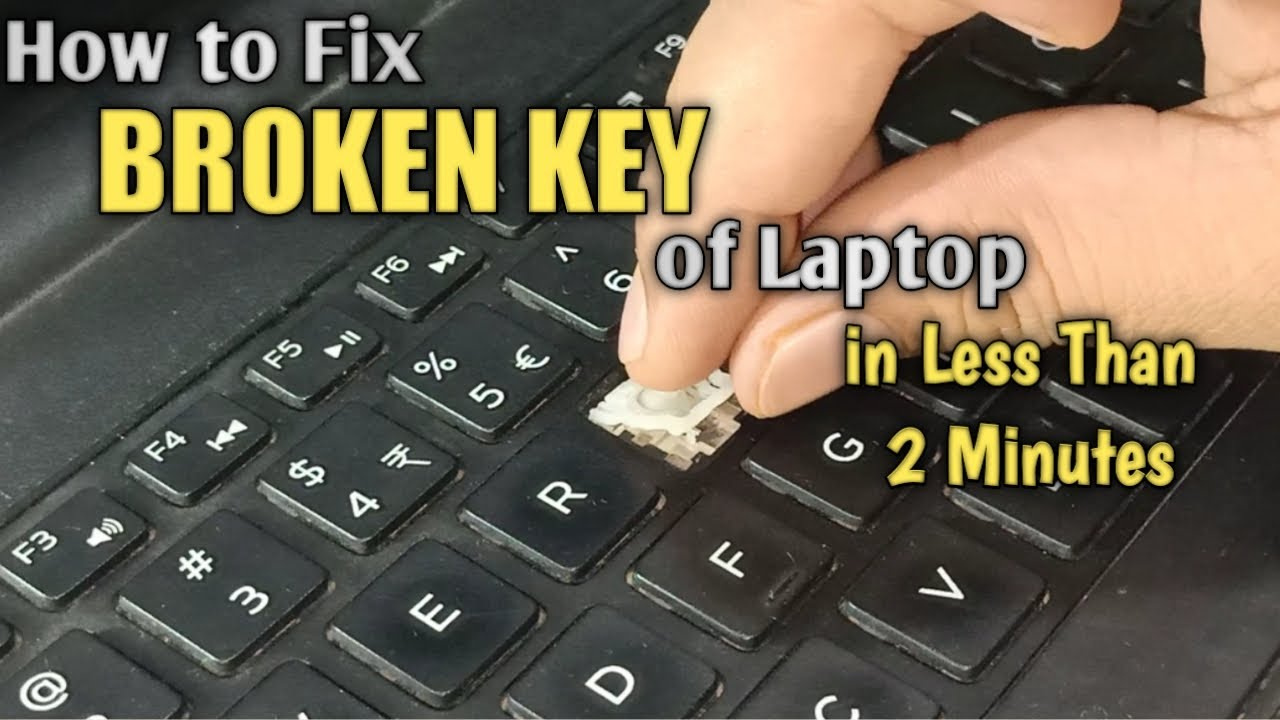
Sometimes keys may pop off or sit loosely on your keyboard due to rough use or accidental impact. Thankfully, this is often an easy fix.
Detailed steps:
- Power down your computer and unplug the keyboard if it’s external.
- Examine the keycap and the plastic retainer clips beneath it. Note how the clips are meant to fit with one another.
- Align the keycap over the corresponding slot on the keyboard.
- Gently press the keycap until you hear a snap indicating the key is back in place.
Summary:
Reattaching loose keys is a simple solution that can often save you from more extensive repairs. The upside is that it’s quick and cost-effective. However, if the retainer clips are broken, this solution will not work, and you might need a replacement part.
Cleaning Under the Keys
Debris like dust, hair, or food particles can get underneath keys, making them unresponsive.
Detailed steps:
- Turn off your computer and detach the keyboard if possible.
- Hold the keyboard upside down and gently shake it to dislodge any loose debris.
- Use a can of compressed air to blow out dust and particles from under the keys.
- For stubborn grime, gently pry up the keycaps using a flat tool (like a butter knife or a keycap puller if you have one), and carefully clean under each key with a cotton swab dipped in isopropyl alcohol.
Summary:
Cleaning is a straightforward fix that can effectively solve key issues. It’s inexpensive and often instantly gratifying. However, this method requires care; too much force when removing keys or using too much liquid could damage the keyboard further.
Updating Keyboard Drivers
Out-of-date drivers can cause your keyboard to act up or some keys to stop working.
Detailed steps:
- Access your computer’s Device Manager through the Start Menu or by searching for it.
- Find Keyboards in the list and expand it.
- Right-click on your keyboard and select Update Driver.
- Choose to search automatically for updated driver software and follow the on-screen instructions.
Summary:
Updating drivers is a viable method that can rectify a host of keyboard-related woes. It’s an easy and software-based approach, which means you don’t have to deal with the hardware. However, if there’s no update available or if the issue is physical, this might not provide a solution.
Adjusting Keyboard Settings
Accidental changes to your keyboard settings might make it seem like you have broken keys.
Detailed steps:
- Go to the Control Panel or Settings app on your computer.
- Navigate to Ease of Access or Accessibility Settings.
- Look for Keyboard settings and ensure features like Sticky Keys or Filter Keys are turned off, as these can alter key behavior.
Summary:
Adjusting your keyboard settings is another software-based solution that is quick and non-invasive. It can solve some baffling key response problems without the need to delve into hardware fixes. However, it may not help if the problem is due to physical damage or wear.
Checking for Hardware Issues
At times, the problem is at the hardware level, which might require a more hands-on approach.
Detailed steps:
- Turn off and unplug your keyboard (or computer if it’s an inbuilt keyboard).
- Check the keyboard cable for any damage. If it’s an external keyboard, try plugging it into another computer to see if it works there.
- If it’s a wireless keyboard, ensure that the batteries are charged, and the receiver is properly connected.
- Look for any visible signs of damage on the keyboard itself.
Summary:
Identifying hardware issues is a vital step in understanding whether you need a professional repair or a replacement. This method can prevent unnecessary attempts at fixing what might simply be an irreparable problem. However, if the issue is internal and you have no experience with electronics, further attempts might cause more harm than good.
Soft Keyboard Reset
Restarting your keyboard’s software can resolve minor glitches.
Detailed steps:
- Unplug your keyboard.
- Wait for about 30 seconds.
- Reconnect your keyboard to the computer.
- Test the keys to see if the reset has fixed the issue.
Summary:
A soft reset is a simple and safe first step that can resolve temporary software hiccups. This procedure has no real downsides, as it does not affect any other system.
Testing Key Functionality
Sometimes specific software or applications might be causing issues rather than the keyboard itself.
Detailed steps:
- Open a text editor like Notepad.
- Try typing each key one by one to test their functionality.
- If the keys work correctly in the text editor but not in a specific program, the issue might be with that software’s settings.
Summary:
Testing key functionality can clarify whether you’re dealing with a keyboard fault or a software-related problem. It’s a safe and effective diagnostic step. However, it won’t solve physical or mechanical faults.
Keyboard Macro Checks
Unintentionally assigned macros or shortcut keys can interfere with normal key functions.
Detailed steps:
- Check your keyboard’s manual to understand how to access and manage macros.
- Disable or delete any active macros that might be impacting key behavior.
- Reassign the keys to their default functions if necessary.
Summary:
Correcting macro assignments can help if you have inadvertently customized key functions. This is particularly relevant for gamers or professionals who may customize their keyboard for efficiency. The drawback is that accidental changes might be reapplied if you’re not familiar with keyboard macro settings.
External Keyboard as an Alternative
If all else fails, using an external keyboard can be a temporary or long-term substitute for your computer’s keyboard.
Detailed steps:
- Plug an external keyboard into a USB port on your computer.
- Wait for your operating system to recognize and install necessary drivers.
- Test that the external keyboard is functioning properly.
Summary:
Using an external keyboard is a fast and efficient workaround, especially if you need to use your computer immediately. It’s a non-invasive solution, but it can be inconvenient for those who prefer not to have extra peripherals, and it’s not a fix for the original keyboard.
Contacting Manufacturer Support
If your keyboard is still under warranty or if you’re hesitant to attempt a repair yourself, reaching out to the manufacturer support can be a wise choice.
Detailed steps:
- Locate your keyboard’s or computer’s serial number and have it on hand.
- Visit the manufacturer’s website to find their customer support contact information.
- Prepare a clear explanation of your issue and any troubleshooting steps you’ve already taken.
- Follow the support representative’s instructions, which may include sending in your keyboard for repair or replacement.
Summary:
Manufacturer support is there to help you with issues that are too complex to solve alone or if your product is under warranty. They can offer professional repairs or replacements. However, depending on warranty status and service fees, this could be costly.
In conclusion, keys on your keyboard can cease to function for various reasons, ranging from simple dirt accumulation to complex software errors, and each warrants a tailored approach for resolution. While the steps described can help you navigate these common issues, remember that keyboards, like all hardware, have a lifespan. Regular care and gentle use can extend it significantly. However, if these steps fail, it could signal that it’s time for a keyboard upgrade or professional repair. Patience, care, and a methodical approach will be your best tools in solving most keyboard concerns.
FAQs
Q: Can spilled liquids on a keyboard be fixed easily?
A: Minor spills can sometimes be fixed by immediately unplugging the keyboard, turning it upside down to drain the liquid, and letting it dry completely. Severe spills, especially with sticky or sugary liquids, often require professional cleaning or may even result in permanent damage.
Q: Are all keys on a keyboard replaceable?
A: Most mechanical and some membrane keyboards have replaceable keys. However, for laptops and low-profile keyboards, replacing keys can be difficult, and often the entire keyboard unit needs to be replaced.
Q: How long should I wait before using my keyboard after cleaning it with a liquid?
A: It is recommended to wait until the keyboard is completely dry before using it again to prevent electrical shorts. This can take anywhere from a few hours to overnight, depending on the extent of cleaning and the type of liquid used.


