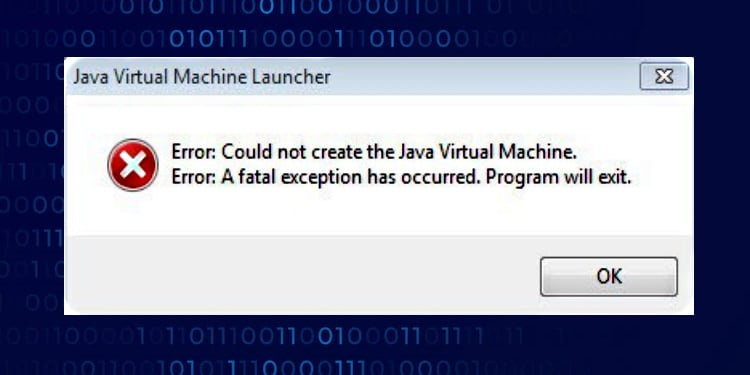
Encountering errors when launching applications can be a frustrating experience, especially when the error messages are cryptic or unclear. A common issue for many users is the “Java Virtual Machine Launcher Error,” which can occur for a variety of reasons, often leaving individuals unsure of how to proceed. However, with a bit of guidance, resolving these errors can be straightforward. The following guide aims to demystify the process of troubleshooting this particular error by providing you with a series of practical solutions to get your Java-based applications running smoothly again.
Update Java
The Java Virtual Machine (JVM) is a critical component for running Java applications. An outdated Java version can lead to compatibility issues and errors. If you’re encountering a JVM launcher error, you may simply need to update Java to the latest version.
Steps:
- Visit the official Java website (www.java.com).
- Click on the “Java Download” or “All Java Downloads” link.
- Choose the appropriate version for your operating system (Windows, macOS, Linux).
- Download and install the Java update by following the on-screen instructions.
Summary:
Updating Java is often the simplest and most effective solution, as it ensures compatibility with the latest software requirements. However, updating may temporarily disrupt Java-based applications until they’re restarted, and some very old applications might not function correctly with the newest Java version.
Verify Java Installation
Sometimes errors occur not because of outdated software, but due to an incomplete or incorrect Java installation. Confirming a correct installation can resolve certain error messages.
Steps:
- Open the Command Prompt (Windows) or Terminal (macOS/Linux).
- Type
java -versionand press Enter to check the installed version of Java. - If the version is displayed, Java is installed correctly. If not, you may need to reinstall Java.
Summary:
Verifying your Java installation can identify whether the error stems from the software itself. Reinstalling can resolve issues but may be time-consuming for those unfamiliar with the process.
Check Environmental Variables
For Java to run correctly, your system’s environment variables need to be set up correctly. Misconfigured environment variables are a common cause of JVM errors.
Steps:
- On Windows, search for “Environment Variables” in the start menu and select “Edit the system environment variables.”
- Click on the “Environment Variables” button in the System Properties window.
- Check the “Path” variable in the “System variables” section to ensure it includes the path to the Java
bindirectory. - If not, add the correct path by selecting “Edit,” then “New,” and entering the path to your Java
bindirectory.
Summary:
Adjusting environment variables can solve persistent JVM errors. However, incorrectly altering them can cause other applications to malfunction, so follow each step carefully or seek professional help if unsure.
Update System Software
Keeping your operating system updated can solve a multitude of problems, including JVM errors, as updates often include fixes for software conflicts and other issues.
Steps:
- Check for system updates through your operating system’s update feature (e.g., “Windows Update” for Windows).
- Install any available updates following the prompts provided by your system.
Summary:
Updating your system can enhance overall functionality and security while possibly resolving Java-related issues. Nevertheless, be aware that updates can take time to install and might require a system restart.
Reinstall Java
If updating Java doesn’t fix the issue, a fresh installation might. This involves uninstalling the current version and then installing Java again from scratch.
Steps:
- Open your system’s control panel or settings menu.
- Go to “Programs and Features” or “Apps” and find Java in the list.
- Select it and choose to uninstall.
- Once the uninstallation is complete, follow the earlier steps to install the latest version of Java.
Summary:
Reinstalling Java is a more thorough approach to resolving JVM errors and can often fix problems that updates alone do not. The downside is the additional time required to uninstall and reinstall the software.
Run as Administrator
Some JVM errors are permissions-related. Running the problematic application as an administrator can sometimes fix these errors.
Steps:
- Right-click on the application’s shortcut or executable file.
- Select “Run as Administrator” from the context menu.
- If prompted by User Account Control (UAC), click “Yes” to proceed.
Summary:
Running an application as an administrator can bypass permissions issues. However, always exercise caution, as this gives the application full system access, which can be risky if the source is untrusted.
Disable Firewall/Antivirus Temporarily
Firewalls and antivirus programs can sometimes prevent Java from running properly. Disabling them briefly can test if they’re the cause of JVM errors.
Steps:
- Open your antivirus software or firewall settings.
- Temporarily disable the protection (refer to the software’s help resources for specific instructions).
- Attempt to run the Java application again.
- If it works, consider adding an exception for Java in your software’s settings before re-enabling your firewall or antivirus.
Summary:
While this method can help determine the cause of JVM errors, disabling firewall and antivirus protection exposes your computer to potential threats. Always re-enable protection immediately after testing.
Check for Malware
Malware on your system can interfere with Java and other applications. Running a malware scan can detect and remove such disruptive software.
Steps:
- Open your antivirus program.
- Run a full system scan to check for malware.
- Follow the prompts to deal with any detected threats.
Summary:
A malware scan can improve your system’s overall health and performance. However, the scanning process can be time-consuming, and handling detected threats might require technical decisions.
Use Java’s Online Troubleshooter
Java’s official website offers online troubleshooting tools that can automatically detect and resolve some issues.
Steps:
- Visit the Java support page (www.java.com/en/download/help/).
- Follow the links to the troubleshooting sections and use any automated tools available.
Summary:
Using Java’s online troubleshooter can be an easy way for novices to fix problems, but its effectiveness is limited to the issues it’s designed to detect and may not resolve all JVM launcher errors.
Adjust Java Virtual Memory Settings
In some cases, JVM errors are related to the allocation of virtual memory. Tweaking these settings can sometimes resolve the issue.
Steps:
- Locate the Java application’s executable file or shortcut.
- Right-click it and select “Properties.”
- In the “Target” field, adjust the virtual memory settings by adding parameters like
-Xmx512M(which sets the maximum memory to 512 megabytes).
Summary:
Altering JVM memory settings can optimize performance and may eliminate errors regarding memory allocation. Misconfiguration, on the other hand, may lead to system instability or degraded application performance.
In conclusion, resolving Java Virtual Machine launcher errors typically involves a combination of verifying installations, updating software, and ensuring correct settings on your system. While these errors can be daunting for those without much technical experience, following the above steps closely provides a structured path to potentially solving the problems you’re facing.
FAQs:
Q: What causes Java Virtual Machine Launcher errors?
A: These errors can arise from numerous issues, including outdated Java software, incorrect installation, insufficient memory allocation, or conflicts with other system software.
Q: Will updating Java always fix JVM errors?
A: Not always, but it’s a frequent solution since many issues are related to using an older version of Java that may not be compatible with newer applications.
Q: What should I do if none of these solutions fix the error?
A: If the error persists after trying these solutions, you might need to seek additional help from the software developer’s support team, a tech-savvy friend, or a professional IT service.