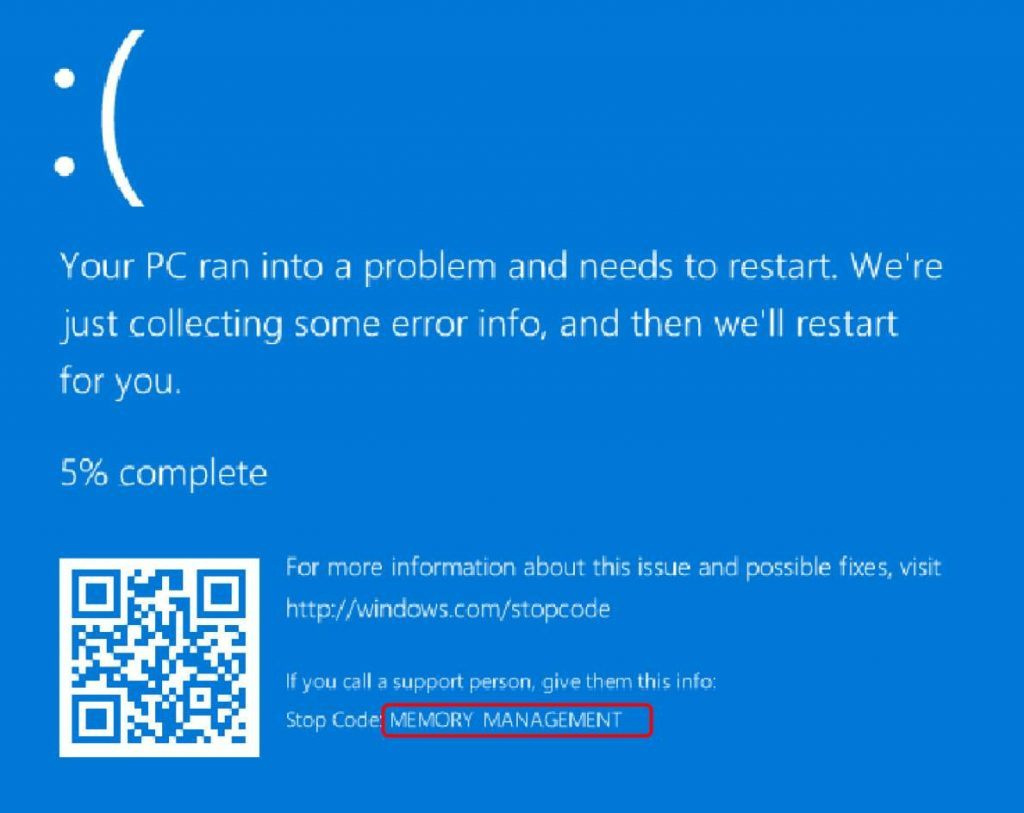
Experiencing a technical hiccup can be frustrating, especially when met with an error code that’s hard to decipher. The ‘memory management stop code’ is a common issue encountered by Windows 11 users, alerting to problems related to your computer’s memory. Often, this error arises when system memory is incorrectly used or there are issues with hardware. But worry not! Resolving this can range from simple quick fixes to more in-depth troubleshooting. In the guide that follows, we will walk through various methods to remedy this error, ensuring your computer is back to running smoothly without requiring extensive technical expertise.
Check for Windows Updates
Keeping your operating system up to date is vital for the smooth functioning of your PC. Windows updates often contain important patches that can fix bugs, including those that might cause memory management issues. Here’s how to check for and install updates:
Steps:
- Click on the Start menu and select the Settings gear icon.
- In the Settings window, choose ‘Update & Security’ (It might be ‘Windows Update’ in Windows 11).
- Click on ‘Check for updates.’ If any updates are available, Windows will start downloading them automatically.
- After the updates have been downloaded, you may be prompted to restart your computer. Save any open work and restart when ready.
Summary:
Updating Windows is beneficial because it can resolve known bugs and vulnerabilities. However, updates can sometimes introduce new issues, though this is relatively uncommon. Always ensure your data is backed up before proceeding with system updates.
Run Windows Memory Diagnostic
Faulty or failing RAM (Random Access Memory) can cause memory management errors. Windows Memory Diagnostic is a tool that checks your computer’s memory for problems.
Steps:
- Type ‘Windows Memory Diagnostic’ into the Start menu and select it.
- Choose ‘Restart now and check for problems’ to start the check immediately, or ‘Check for problems the next time I start my computer’ if you prefer to delay.
- Your computer will restart, and the memory diagnostic tool will run. It may take some time, so be patient.
- Once complete, your computer will restart again. You can find the results of the test in the Event Viewer.
Summary:
Running the Windows Memory Diagnostic is a secure way to identify issues with your memory. However, this tool may not catch all types of memory issues, and a lack of errors in the tool doesn’t always mean your RAM is fault-free.
Update Drivers
Out-of-date or corrupt drivers can cause severe system issues, including the memory management stop code.
Steps:
- Type ‘Device Manager’ into the Start menu and open it.
- Expand the categories and look for any devices with a yellow exclamation mark, which indicates issues with the device.
- Right-click on the device and select ‘Update driver.’
- Choose ‘Search automatically for updated driver software’ and follow the prompts.
Summary:
Updating drivers can enhance system compatibility and performance. However, there is a small risk that new drivers can contain bugs or be incompatible with your hardware, so it’s always a good idea to set a system restore point before updating.
Perform a Check Disk Scan
Corrupted filesystems can cause memory management errors. Check Disk can help you find and fix these issues.
Steps:
- Open File Explorer and right-click on your C: drive, then select ‘Properties.’
- Go to the ‘Tools’ tab, then under ‘Error checking’, click ‘Check.’
- If prompted, click ‘Scan drive’ and wait for the process to finish.
Summary:
Check Disk can effectively fix file system errors and bad sectors on your hard drive which could be causing memory issues. While generally safe, power outages during the scan could potentially cause data loss.
Reset Virtual Memory
Virtual memory is a combination of your RAM and a portion of your hard drive. Resetting it can sometimes fix memory management errors.
Steps:
- Go to ‘Settings’, then ‘System’, and choose ‘About.’
- Click on ‘System info’ and then ‘Advanced system settings’ on the right-hand side.
- Under the ‘Performance’ section, click ‘Settings.’
- Go to the ‘Advanced’ tab, click on ‘Change…’ under the ‘Virtual memory’ section.
- Uncheck ‘Automatically manage paging file size for all drives.’
- Select the C: drive, choose ‘Custom size,’ and enter Initial and Maximum sizes recommended by Windows.
- Click ‘Set’ then ‘OK’ to apply changes.
- Restart your computer.
Summary:
Adjusting your virtual memory can be a workaround if physical RAM is not the issue. However, incorrect settings can lead to decreased system performance, so it’s recommended to follow the sizes suggested by Windows.
Run System File Checker (SFC)
Corrupt system files are another possible cause for memory management errors. SFC can find and repair these files.
Steps:
- Right-click on the Start menu and select ‘Windows Terminal (Admin).’ If you don’t see this option, select ‘Command Prompt (Admin)’ or ‘PowerShell (Admin).’
- Type
sfc /scannowand hit Enter. - Wait for the process to complete, and then restart your computer.
Summary:
SFC is a reliable tool that repairs corrupt system files which could be causing memory errors. It is safe to use, but repairing system files can sometimes affect system functionality if the files are crucial.
Run Deployment Image Servicing and Management (DISM)
The DISM tool repairs the Windows system image and can service a Windows installation.
Steps:
- Open Windows Terminal (Admin) as before.
- Type
DISM /Online /Cleanup-Image /RestoreHealthand press Enter. - Wait for the command to complete and then restart your computer.
Summary:
DISM is an advanced tool that can fix more issues than SFC can. While it’s powerful, there’s a small chance it can cause issues if it encounters problems during the repair process.
Update BIOS
Outdated BIOS may conflict with Windows 11 operating systems causing memory management errors.
Steps:
- Determine your motherboard manufacturer and BIOS version by checking your system information.
- Visit the manufacturer’s website and download the latest BIOS update.
- Follow the manufacturer’s instructions very carefully to update the BIOS.
Summary:
A BIOS update can resolve compatibility issues and improve system stability. However, updating BIOS carries a risk of bricking your motherboard if performed incorrectly, hence always ensure a stable power supply and follow the instructions meticulously.
Check Hardware Compatibility
Hardware compatibility issues, especially for newly installed components, can also cause these errors.
Steps:
- Check the manufacturer’s specifications for newly installed hardware to ensure it’s compatible with your system.
- If you recently installed new hardware before the error started, consider removing it to see if the error resolves.
Summary:
Compatible hardware ensures optimal system operation. However, diagnosing compatibility issues might require a bit of trial and error.
Contact Support
When all else fails, contacting the Microsoft support team or a professional computer technician can guide you towards a solution.
Steps:
- Visit the official Microsoft support website or contact a certified technician.
- Provide them with the error code and any other relevant information about your system.
Summary:
Professional support can offer tailored solutions. The downside is it may come with additional costs or waiting times.
In conclusion, the memory management stop code in Windows 11 is a common issue that can stem from a variety of causes. The solutions provided here address both software and hardware aspects, offering thorough checks and fixes to help restore your computer’s well-being without necessitating deep technical knowledge. Remember to back up your data before performing any significant changes, and if the problem persists, don’t hesitate to seek professional help. Even to those unfamiliar with the technical details, these steps can serve as a confident path to resolving the memory management error and getting your system back on track.
FAQs
-
What does the memory management stop code mean?
The memory management stop code indicates a problem with the computer’s memory management, which could be due to issues with RAM, corrupt system files, driver conflicts, or hardware problems. -
Is it safe to update my BIOS to fix the memory management stop code?
Updating the BIOS can be risky and should only be performed if you’re comfortable with the process and following the instructions provided by your motherboard manufacturer. It should typically be done to resolve a specific issue known to be fixed by a BIOS update. -
Can the memory management stop code be caused by a virus or malware?
While it’s less common, malware can certainly cause system issues that may result in a variety of stop codes. Running a reputable antivirus program can help determine if this is the case.