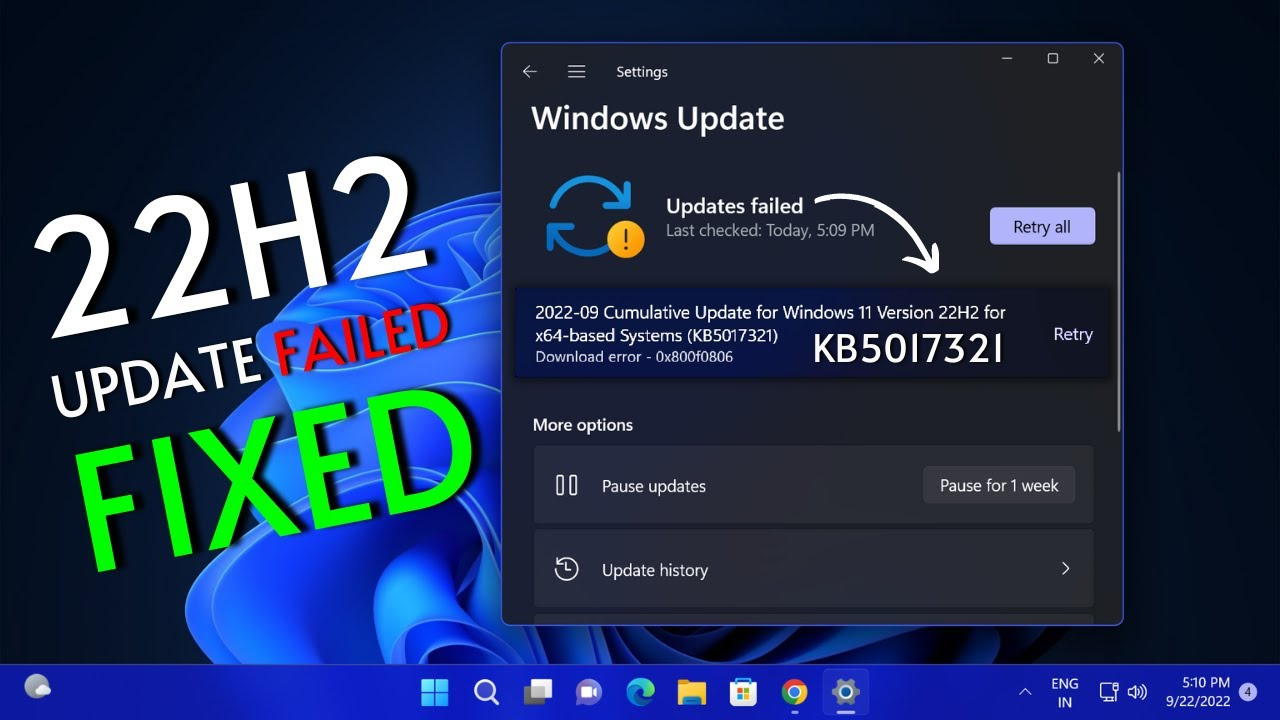
Experiencing challenges when updating your computer’s operating system can be a significant inconvenience, especially when you’re eager to enjoy the latest features and improvements. The Windows 11 version 22H2 update is designed to enhance your PC’s performance, security, and user experience, but sometimes technical hurdles can prevent the update from installing properly. Understanding that not everyone is tech-savvy, this guide will walk you through various approaches to resolve the issue, ensuring that you can apply these solutions even without in-depth technical knowledge.

Check Your Internet Connection
Before diving into more complex troubleshooting steps, it’s important to ensure that your basic settings are correct, and this starts with your internet connection. A stable and strong internet connection is crucial for downloading and installing updates.
Steps:
- Make sure your computer is connected to the internet. Try opening a web page to confirm.
- If you’re using Wi-Fi, ensure the signal is strong. Consider moving closer to your router or using a wired Ethernet connection for better stability.
- Restart your router if you suspect connectivity issues. Simply unplug it, wait about a minute, and plug it back in.
Summary: A good internet connection is essential for installing updates. Checking this first is a simple and often overlooked step, with the main benefit of being an easy potential fix. The downside is that it might not resolve issues unrelated to connectivity.
Run Windows Update Troubleshooter
Windows has a built-in tool designed to help resolve common update problems. The Windows Update Troubleshooter can automatically detect and fix issues with the update process.
Steps:
- Go to ‘Settings’ by pressing the Windows key + I.
- Click on ‘System’ and choose ‘Troubleshoot’.
- Select ‘Other troubleshooters’.
- Find ‘Windows Update’ and click the ‘Run’ button next to it.
- Follow the on-screen instructions to let the troubleshooter detect and repair issues.
Summary: The troubleshooter can be a quick fix, automatically resolving many common update problems. However, it won’t solve all issues, especially complex or obscure ones that require more specific solutions.
Free Up Disk Space
Lack of sufficient storage space on your computer can prevent installation of new updates. Ensuring that you have enough free space is a simple yet vital step.
Steps:
- Open ‘Settings’ and select ‘System’.
- Click ‘Storage’ to see how much space you have left.
- If space is low, use ‘Cleanup recommendations’ to remove unnecessary files.
- Consider transferring files to an external drive or cloud storage.
Summary: This solution can significantly improve your computer’s performance and allow updates to install. The downside is that you might need to spend time managing your files or need an extra storage device.
Update Drivers and Software
Outdated drivers and software on your system can sometimes conflict with the update process. Ensuring that everything is up to date might resolve the issue.
Steps:
- Right-click the Start button and choose ‘Device Manager’.
- Go through the list of devices and check for any with a yellow exclamation mark which indicates a driver issue.
- Right-click on the troubled device and select ‘Update driver’.
- Choose ‘Search automatically for updated driver software’ and follow prompts to install any found updates.
Summary: Updating drivers and software can improve compatibility with new updates and potentially fix installation problems. However, it can be time-consuming, and there’s a small risk of driver conflicts.
Check System Requirements
The newest iteration of Windows requires certain system specifications. If your hardware is incompatible, the update may not execute properly.
Steps:
- Navigate to Microsoft’s official Windows 11 specs page to check system requirements.
- Compare these requirements with your system’s specifications by going to ‘Settings’ > ‘System’ > ‘About’.
- Ensure your hardware meets or exceeds these requirements.
Summary: Checking compatibility is crucial to prevent attempting an update that your system simply can’t handle. The drawback here is that hardware upgrades might be required if your system isn’t up to par, which can be costly.
Temporarily Disable Antivirus Software
Antivirus software, while crucial for your PC’s security, can occasionally interfere with the installation of updates. Temporarily disabling these programs can help ascertain if they’re causing the issue.
Steps:
- Open your antivirus program’s interface.
- Look for the ‘Settings’ or ‘Protection’ section to find the option to disable it temporarily.
- Remember to re-enable the antivirus software after attempting the update installation again.
Summary: This solution can circumvent conflicts between your antivirus software and the update process. The obvious potential downside is the brief period where your computer is not protected from viruses and malware.
Perform a Clean Boot
A clean boot starts Windows with a minimal set of drivers and startup programs, which can help if background programs are causing issues with the update.
Steps:
- Press Windows key + R, type ‘msconfig’ and press Enter.
- In the ‘System Configuration’ window, select ‘Selective startup’.
- Uncheck ‘Load startup items’.
- Go to the ‘Services’ tab, check ‘Hide all Microsoft services’, and then click ‘Disable all’.
- Click ‘OK’, and then restart your computer.
Summary: A clean boot can effectively diagnose and resolve conflicts with the update process. However, it can be a bit daunting for non-technical users, and you should ensure to reset your system to normal startup after the troubleshooting is complete.
Reset Windows Update Components
At times, the Windows update process can get stuck if the update components themselves are corrupt. Resetting these components can prompt the update to start fresh.
Steps:
- Type ‘Command Prompt’ into the Windows search bar, right-click on it, and select ‘Run as administrator’.
- Stop the BITS, Windows Update, Cryptographic, and MSI Installer services by entering the following commands one by one, pressing Enter after each:
net stop bitsnet stop wuauservnet stop appidsvcnet stop cryptsvc - After stopping the services, rename the SoftwareDistribution and Catroot2 folders by typing the following commands and hitting Enter after each:
ren %systemroot%SoftwareDistribution SoftwareDistribution.oldren %systemroot%System32Catroot2 Catroot2.old - Now, restart the services you stopped earlier using these commands:
net start bitsnet start wuauservnet start appidsvcnet start cryptsvc - Close the Command Prompt and try running Windows Update again.
Summary: This solution can be highly effective as it directly addresses the core update mechanism. However, some users may find entering commands intimidating, and care must be taken to enter the commands correctly.
Manually Install the Update
When automatic updates fail, downloading the update manually from the Microsoft Update Catalog can be an alternative route.
Steps:
- Visit the Microsoft Update Catalog website.
- Search for “Windows 11 version 22H2”.
- Find the correct version for your system, click ‘Download’ and then on the link in the pop-up window to start the download.
- Once the download is complete, open the file to install the update.
Summary: Manual installation can dodge issues with the automatic update process, but it requires a bit more user involvement and understanding of which version to download.
Use Media Creation Tool
Microsoft’s Media Creation Tool enables users to create installation media for Windows and can also be used to perform an update.
Steps:
- Download the Media Creation Tool from the official Microsoft website.
- Run the tool and accept the license terms.
- Select ‘Upgrade this PC now’ and follow the on-screen prompts to begin the update process.
Summary: The Media Creation Tool simplifies the installation of Windows 11, especially for overcoming update issues. Nevertheless, creating installation media may take some time, and it is crucial to back up your files before proceeding.
Contact Microsoft Support
If all else fails, reaching out to the professionals is a solid last resort. Microsoft Support can provide tailored assistance for complex issues.
Steps:
- Go to the Microsoft Support website.
- Navigate to ‘Contact Us’ and select the most appropriate category for your issue.
- Follow the prompts to either chat with a support representative or schedule a call.
Summary: Microsoft Support can help troubleshoot particularly stubborn update issues. While this is a reliable way to find a solution, it might involve waiting for assistance and potentially longer troubleshooting sessions.
In conclusion, the Windows 11 version 22H2 update is a significant software upgrade designed to improve your computing experience. Although the installation process can occasionally run into problems, the variety of solutions provided here should cover most scenarios, enabling you to successfully update your system. These steps were crafted to be accessible, ensuring that even those with minimal technical knowledge could follow them.
FAQs
Q1: Where can I find out if my PC meets the Windows 11 version 22H2 update requirements?
You can check the system requirements for Windows 11 version 22H2 on Microsoft’s official website or by comparing them to your PC’s current hardware specifications in ‘Settings’ > ‘System’ > ‘About’.
Q2: How long should I wait before deciding that the Windows 11 version 22H2 update is not installing properly?
Typically, the installation process can take anywhere from a few minutes to a few hours, depending on your system and internet speed. If the progress seems to be stuck at a certain point for an unusually long time (e.g., more than a few hours), it may be an indication that there is an installation issue.
Q3: Will my personal files be affected by these troubleshooting steps for the Windows 11 version 22H2 update?
Most troubleshooting steps won’t affect your personal files. However, it’s always wise to back up your data before performing operations like updating the system or using the Media Creation Tool, as there is always a small risk of data loss during such processes.


