In our digital world, efficiently managing file sizes is crucial—whether you’re looking to save space on your hard drive, or you need to share files quickly over the internet. Zip files are a popular way to compress data, making files easier to handle. However, sometimes the ZIP format doesn’t reduce the size enough, and you still need to further minimize the file. Fortunately, there are several methods to achieve even smaller file sizes, and this guide will walk you through multiple strategies to compress your ZIP files even more.
Re-ZIP with Maximum Compression Settings
When creating a ZIP file, you may not always choose the highest level of compression. By creating a new ZIP file with the maximum compression settings, you could significantly reduce the file size.
- Locate the original ZIP file on your computer.
- Right-click on the file, select ‘Extract All…’, and choose where to extract the files.
- Once extracted, select all the files and folders you just extracted.
- Right-click on your selection and choose ‘Send to > Compressed (zipped) folder’.
- Before the ZIP process begins, look for a settings or preferences option (this may depend on your ZIP utility).
- Adjust the settings to the maximum compression rate. Usually, there is a slider or a ‘Maximum’ option.
- Proceed to create the new ZIP file. This file should be smaller than the original.
Summary: Using the maximum compression settings may take more time to compress and decompress files but can significantly reduce file sizes. This method doesn’t work as well on files that are already highly compressed, like JPEG images or MP4 videos.
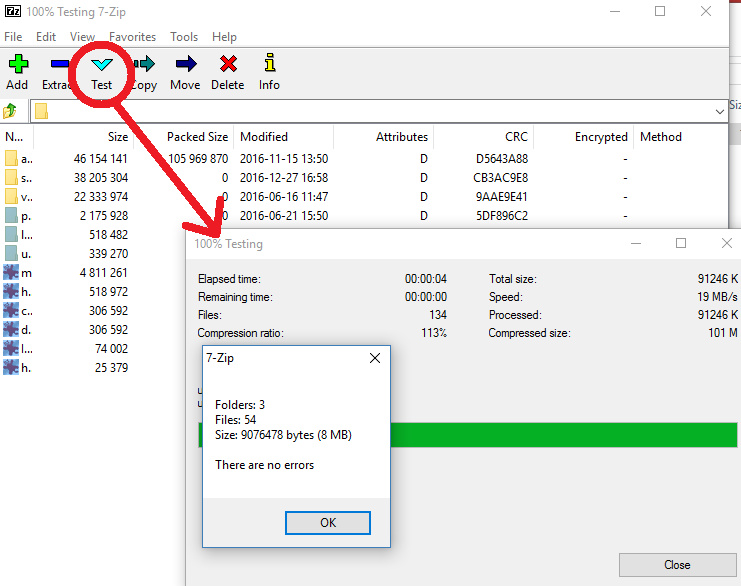
Use a Different Compression Format
ZIP is not the only compression format. Other formats like 7Z, RAR, or TAR can sometimes compress files more efficiently than the standard ZIP format.
- Download and install a file compression program that supports multiple formats, like 7-Zip or WinRAR.
- Open the program and use it to navigate to the folder where your original ZIP file is stored.
- Extract the contents of the ZIP file within the program.
- Select all the extracted files in the program.
- Look for an option to ‘Add to archive…’ or similar.
- In the archive creation window, choose a different compression format, such as 7Z or RAR.
- Select the highest compression level option.
- Start the compression process to create a new compressed file in the format you chose.
Summary: Alternative formats may offer better compression, but compatibility can be an issue. Not all users can open formats like 7Z or RAR without specific software.
Remove Unnecessary Files Before Compression
Removing files that are not needed can reduce the size of your ZIP file. This includes temporary files, duplicates, or non-essential data.
- Extract the contents of the ZIP file to a folder.
- Go through the files and identify any that aren’t necessary.
- Delete any unnecessary or duplicate files.
- After cleaning up the folder, re-compress the remaining files into a new ZIP file.
Summary: This method ensures you’re only compressing what’s needed, but it requires careful consideration to avoid deleting important files.
Compress Files Individually
Sometimes, compressing files individually and then combining them into one ZIP file can result in smaller overall file size.
- Extract the individual files from the original ZIP.
- Compress each file individually to a ZIP format, using maximum compression settings.
- Combine these individually compressed files into one final ZIP file.
Summary: This method can be more effective for a group of large files, but it’s time-consuming and may only have a marginal effect.
Using Online Compression Tools
Online services can sometimes offer more aggressive compression algorithms.
- Search for an online file compression service.
- Upload your ZIP file to the service.
- Choose the compression options provided by the service, which may allow you to set a desired file size.
- Once the file is compressed by the service, download the resulting ZIP file.
Summary: Online tools are convenient and can be effective, but they come with the risks of uploading sensitive data to a third-party service and may have file size limits.
Splitting the ZIP File
If the goal is to make the file easier to share over email or other size-restricted platforms, splitting it into smaller parts can be helpful.
- Right-click on the ZIP file and choose the option to split the file (this may require specific software).
- Define the size that each split file should be (for example, 5MB).
- Create the split files.
Summary: Splitting makes sharing easier but users on the other end will need to reassemble the parts.
Utilizing NTFS Compression
If you’re using an NTFS file system, you can use built-in NTFS compression to reduce the size of the file further after it’s been zipped.
- Right-click on the ZIP file.
- Go to Properties.
- Under the General tab, click the Advanced button.
- Check the box ‘Compress contents to save disk space’.
- Click OK and Apply.
Summary: This method works seamlessly on Windows systems, but the effectiveness can vary and might not be suitable for file transfer as the compression is system-specific.
Avoid Compressing Already Compressed Files
Understanding that some file types are already compressed can save you time. Avoid trying to compress file formats like JPG, MP3, or MP4, as you’ll see minimal, if any, size reduction.
Summary: This method avoids unnecessary effort but does not offer a solution if additional compression is needed.
Modifying ZIP File Contents
Sometimes, simply by modifying the contents of a ZIP file by lowering the resolution of images or the quality of audio files before compression can make a difference.
- Extract the files.
- Use photo editing or audio editing software to reduce file sizes.
- Recompress the modified files into a new ZIP file.
Summary: This is effective for reducing sizes but can result in a loss of quality for the contained media files.
Use Command-Line Compression Tools
Advanced users can employ command-line tools for more control over compression options, potentially leading to better compression ratios.
- Open the command prompt or terminal.
- Navigate to the directory containing your files.
- Use command-line compression tools with specific flags for maximum compression.
- Compress the files into a new ZIP file.
Summary: This approach offers high customization but requires command-line knowledge and may not significantly outperform other methods.
In conclusion, several methods can be employed to further compress ZIP files, each with its own benefits and trade-offs. Whether through changing compression settings, using alternative file formats, or carefully curating file content, there is often room to reduce file sizes. While no method guarantees drastic results, combining these strategies can lead to more efficient storage and sharing of your data.
FAQs:
-
What is the best format for compressing files to the smallest size?
The best format may vary based on the type of files you’re compressing, but 7Z is often recommended for its high compression ratio. -
Is it safe to use online compression tools?
While many online tools are reliable, always consider the privacy implications before uploading sensitive data to a third-party server. -
Why don’t some files compress well in a ZIP file?
Some files, like many multimedia files, are already compressed using their own algorithms, leaving little room for further reduction by ZIP compression.