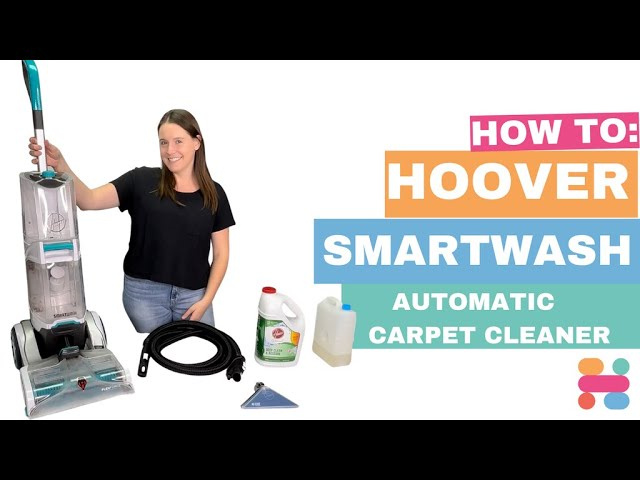
Keeping your carpets clean is not only about maintaining their look but also about extending their life and ensuring a healthy environment in your home. A Hoover carpet cleaner is a valuable tool that can help you achieve this with ease. Designed to give your carpets a deep clean, it removes dirt, stains, and allergens that regular vacuuming can’t. Whether you’ve just got a new Hoover or you’re looking to make better use of an existing one, this guide will walk you through the process with simple, easy-to-follow steps.
Preparing Your Hoover Carpet Cleaner
Before you dive into cleaning your carpets, it’s essential to prepare your Hoover carpet cleaner properly. This initial step is crucial as it ensures that the machine is set up for optimal cleaning effectiveness and prevents any potential damage to the cleaner or your carpets.
Detailed Steps:
- Read the Manual: Always start by consulting your Hoover’s user manual for any specific preparation guidelines and safety cautions.
- Assemble the Unit: If your cleaner isn’t already assembled, follow the instructions in the manual to put together any detachable parts.
- Fill the Clean Water Tank: Remove the tank from the unit, fill it with warm tap water, and add the appropriate amount of Hoover cleaning solution as directed.
- Check the Tanks: Ensure that both the clean water tank and the dirty water tank are securely placed back into the unit.
- Test the Machine: Plug in your Hoover, and turn it on to ensure everything is working correctly without any leaks.
Summary:
Preparing your Hoover correctly is straightforward and it sets the stage for a successful carpet cleaning session. The key benefit is making sure the machine performs effectively, while the downside might be the initial time investment for assembly and preparation.
Powering Up and Starting Your Cleaning
Turning on and starting with your Hoover carpet cleaner is the next step after you’ve got it all set up. Here, we’ll get it running and ready to tackle the dirt embedded in your carpets.
Detailed Steps:
- Plugging In: Connect your carpet cleaner to a power outlet and ensure the power cord is not a tripping hazard.
- Power Switch: Find the power switch, usually located on the handle or the back of the unit, and turn it on.
- Starting Position: Begin at the corner farthest from the door to avoid walking on the cleaned carpet.
- Release Solution: Engage the trigger to release the cleaning solution as you slowly push the cleaner forward.
- Pull Back: Release the trigger, and slowly pull the cleaner back towards you. This will remove the now dirty water from the carpet.
Summary:
Starting your Hoover carpet cleaner is as simple as powering it up and engaging the cleaning mechanism. Doing so correctly ensures a thorough clean, although you might have to refill the water tank multiple times for larger rooms.
Basic Cleaning Technique
Cleaning your carpets the right way is vital to removing all the dirt and ensuring no residue is left behind. A proper technique can mean the difference between a carpet that’s truly clean and one that only looks clean on the surface.
Detailed Steps:
- Overlap Strokes: Clean in overlapping strokes to make sure you cover the entire area without missing any spots.
- Steady Pace: Move at a steady, slow pace to allow the brushes and suction to do their best work.
- Regularly Check Tanks: Monitor the dirtiness of the water in the collection tank and the level of the clean water tank.
- Empty and Refill Tanks: When necessary, turn off the unit, disconnect from power, empty the dirty water, and refill the clean water tank.
- Repeat Process: Continue cleaning with fresh water until the water being sucked up looks clean.
Summary:
Using proper cleaning techniques with your Hoover carpet cleaner helps ensure deep cleaning and maximizes the machine’s effectiveness. It might take some time to get used to the pace and technique, but the results are worth it.