How to move Density 2 to another drive? There are various methods that you can try, such as copying the files directly to a new drive, using online tools, and you can use Steam mover as well. But the question is, all these methods are effective? Yes, they are if you use them in the right way.
With the help of hi-tech technology, you can easily manage to transfer games from one drive to another without installing them again. In case if you want to copy the games directly, then you have to face different issues, including missing and corrupt files. So, to resolve these issues, you have to follow some methods that are mentioned below.
Move Destiny 2 to another drive through copying game folder
Here are the steps that you can follow to move Density 2 to another driver.
1. First, copy the game folder from your old drive and paste it to your new drive.
2. Now open the Blizzard launcher and go to its Settings.
3. Once you are in settings, click the game Install/Update button.
4. Change the path of your game to the new location. You can find the option under the folder used for gameplay.
5. Once you are done, launch the game and enjoy it.
Make sure to move all the files from one drive to another; otherwise, you have followed the process again.
Move Destiny 2 to another drive using mklink
You can mover Destiny 2 folder to another drive and then create a symbolic link between the source location and the new location.
Mklink is a command tool for creating symbolic links and hard links under the Windows system. It is a good tool for solving file system problems. Using it requires administrator permissions.
1. Locate the Destiny 2 game folder e.g. C:\Games\Destiny 2
2. Move Destiny 2 directory (CTRL+X) to e.g. Z:\Games
3. Create a symlink with command:
mklink /J “C:\Games\Destiny 2” “Z:\Games\Destiny 2”
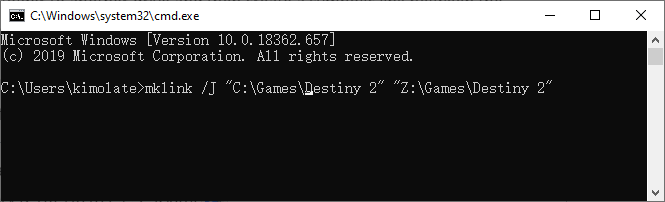
This way, you won’t need to change the path in the blizzard launcher.
Actually, there is a more convenient tool based on mklink – Steam Mover.
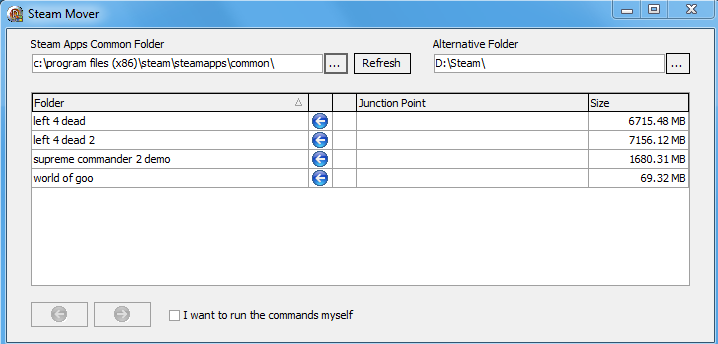
Select Destiny 2 game folder, e.g. C:\Games\Destiny 2 under \Steamapps\Common folder, and select the new hard disk D: under Alternative Folder, where I have created a folder.
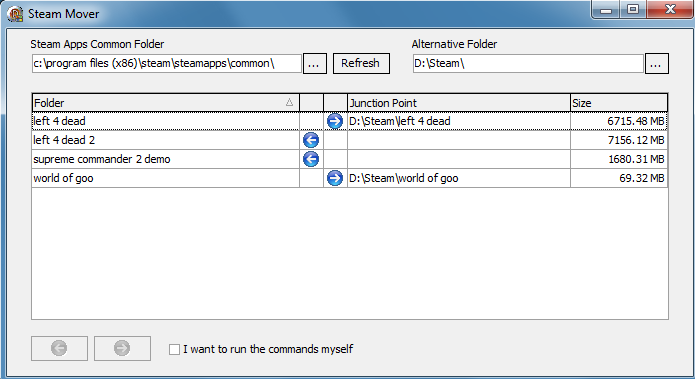
Click the “Right Arrow” button and wait for the process done, you will see that Destiny 2 has been moved to my D: drive.
Note that Steam Mover can be used to move any folder around (by changing the Source Path), but for Steam the maximum benefit is in moving individual games from the Common folder.
Move Destiny 2 to another drive with Steam client
How to move Density 2 to another drive? Steam Mover is the best choice for those who want to move their files. This software is simple and helps to manage all the files you transfer. With the help of this software, you don’t have to install the games several times.
Here are the steps that you need to follow to move Density 2 to another drive:
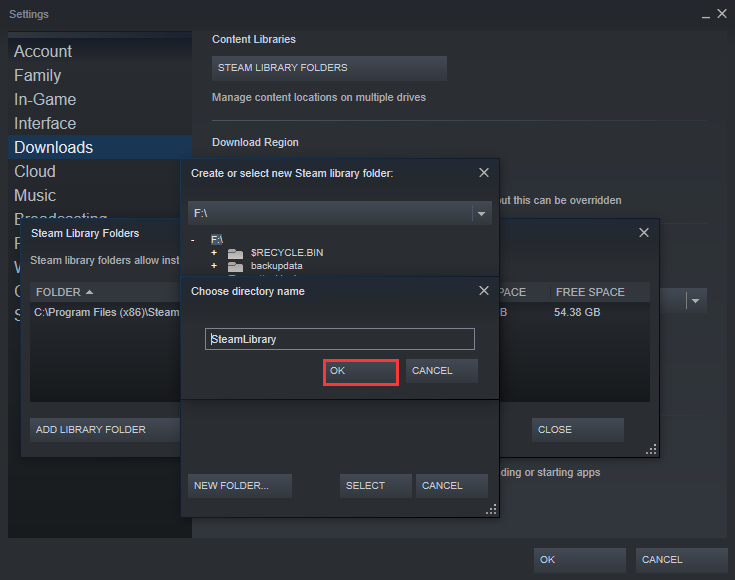
Step 1. In another drive, create a folder with the name steamapps and common and move Density 2 game folder to this new folder.
Step 2: Open the Steam app and go to Settings > Downloads > Steam Library Folders and choose the option Add Library Folder.
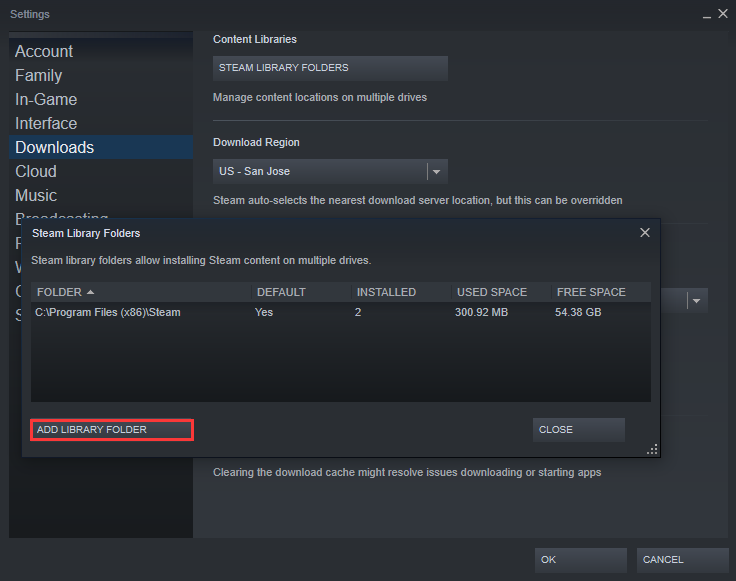
Then choose the folder you created in Step 1.
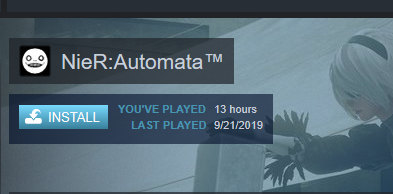
Step 3: Once you have completed all the steps, restart Steam and then choose the Install button to install the game in a new drive. You can also select the location where you want to install the game in a new drive.
Step 4. Steam will display “Discovering existing files for…”. If you see this message, Steam has noticed your moving file and everything is fine. If you can’t see it, something is wrong. Maybe you put the files in the wrong folder.
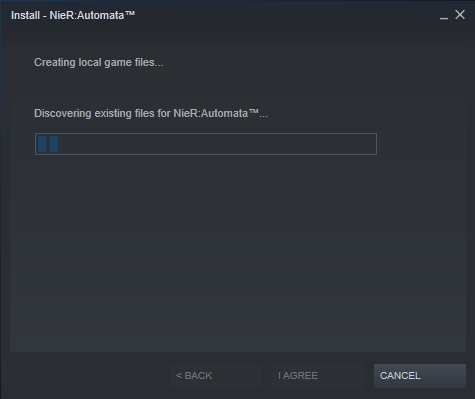
Note: Steam will not install the game again; instead, it will rewrite the necessary files that are important for the game to launch. Make sure you have created the folder correctly to move the files.
The above solutions might not be effective in all situations. So, you can try an edge tool – EaseUS Todo PCTrans, which can help you move one or multiple games to another drive or computer in one time.
Best Application and Game Mover – EaseUS Todo PCTrans
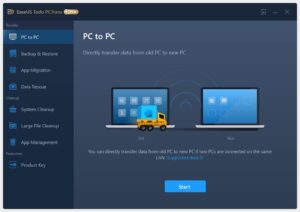
With the help of this application, users can easily manage to transfer files, software, games, and much more from one drive to another or from PC to another. You can always follow the below 3 steps to complete the migration task.
1. Select transfer mode “PC to PC” or “App Migration”.
2. Choose applications, games, or files to transfer.
3. Choose the destination location and confirm to start.