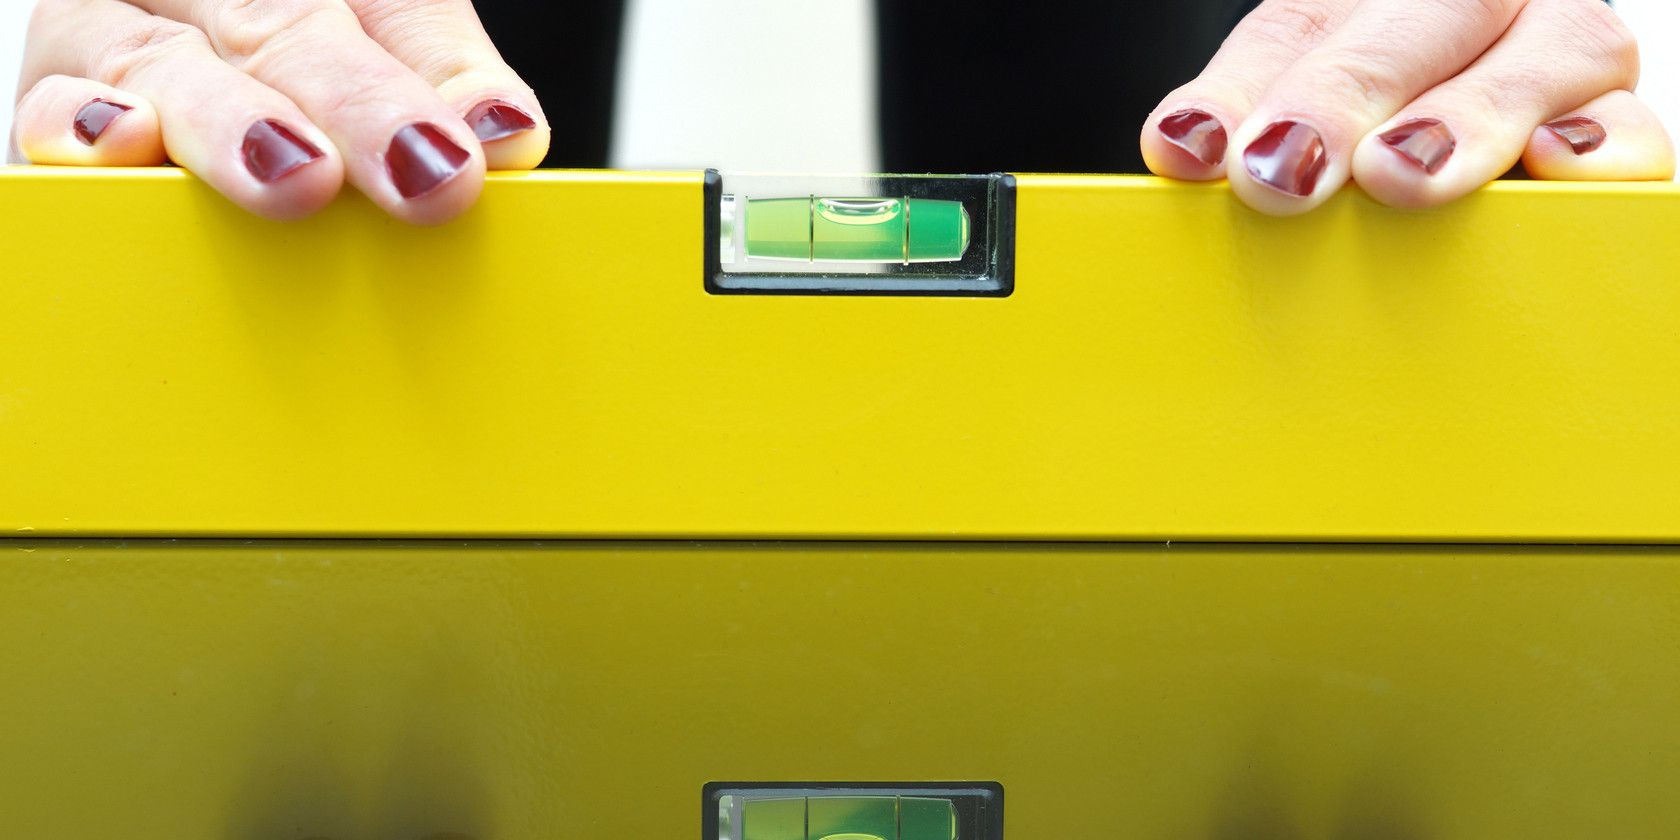
Sometimes, you need to make sure something is perfectly level—whether you’re hanging a picture frame, setting up a table, or tackling some DIY. In the past, you might have reached for a physical bubble level, but did you know your Android phone has a handy level tool built right in? In this digital age, your smartphone is more than just a communication device; it’s a multitool. Google’s software includes an often-overlooked bubble level feature, accessible without any additional downloads or gadgets. Here’s a straightforward guide to tapping into this practical utility, turning your device into a modern-day carpenter’s friend.
Using Google Search
Your Android device can become a bubble level with just a few taps using Google Search. It’s as simple as typing a phrase into the search bar.
Detailed steps:
- Open the Google app on your Android device, or use your browser to go to Google.com.
- Type “bubble level” into the search bar and hit the search button.
- A bubble level tool will appear directly within the search results.
- Place your phone on the object or surface you want to check for level. You can use it in portrait, landscape, or flat.
- Adjust the object or surface until the bubble is centered in the level tool on your screen.
Summary:
The beauty of this method lies in its simplicity and convenience. There’s no need to download or install additional apps because it utilizes the Google app, a staple on most Android devices. However, precise accuracy can vary depending on your device’s sensors and the case you’re using, if any.
Using a Third-Party App
When the built-in feature isn’t enough or if you seek additional functionalities, various third-party apps can be used as bubble levels. One popular option is Bubble Level (by Gamma Play).
Detailed steps:
- Open the Google Play Store on your Android device.
- In the search bar, type in “Bubble Level Gamma Play” and select the app from the search results.
- Tap “Install” to download and install the app on your device.
- Open the app once installation is complete.
- Calibrate the level if prompted by setting the device on a known level surface and following the on-screen instructions.
- Use the app by placing your phone on the surface you wish to check and viewing the level’s indicators.
Summary:
Third-party apps often come with additional features like measuring angles, which can be beneficial for more demanding projects. However, remember that these apps may contain ads or in-app purchases, and you’ll need to grant them certain permissions on your device.
Using Google Assistant
The Google Assistant can help you access the bubble level tool swiftly without needing to navigate menus or type search queries.
Detailed steps:
- Activate Google Assistant by saying “OK, Google” or long-press the home button on your Android device.
- Say “bubble level” or “spirit level” to Google Assistant.
- The bubble level tool will appear for you to use immediately.
- Place your phone on the object or surface you want to level.
Summary:
This voice-activated process provides hands-free convenience and quick access to the level tool. It’s beneficial when your hands are occupied or dirty during a project. Still, the accuracy and performance can vary based on your device’s hardware and environmental noise that may affect voice recognition.
Checking for a Pre-installed App
Some Android devices come with a pre-installed tool that includes a bubble level.
Detailed steps:
- Open your app drawer and look for apps labeled “Utilities,” “Tools,” or something similar.
- Tap to open the app and look for the level tool within the app’s options.
- Follow the on-screen instructions to use the level feature.
Summary:
Using a pre-installed utility app consolidates your tools into one place without needing to download anything new. However, not every Android device comes with such an app, and if yours doesn’t, one of the other methods listed will be required.
Calibrating Your Device for Accuracy
For the bubble level feature to work correctly, your device may need calibration.
Detailed steps:
- Find the calibration option within your level app or tool. This might be in an app’s settings menu or within the Google level tool.
- Follow the on-screen instructions to calibrate, which generally involves placing the device on a known flat surface and following prompts.
- Once calibrated, proceed to use the level as needed.
Summary:
Calibrating your device can significantly increase the tool’s accuracy, a critical step for tasks requiring precise measurements. It might seem technical, but most apps guide you through the process. If not done correctly, though, it may lead to inaccurate readings.
Optimize Level Accuracy
Phone cases and protective covers can sometimes interfere with the accuracy of the bubble level.
Detailed steps:
- Remove any case or cover from your device.
- Place your bare device on the object or surface to check for levelness.
- If the reading is more accurate, consider using the level this way when precision is paramount.
Summary:
While this step might improve accuracy, it does expose your device to potential damage if dropped. Proceed with caution, especially on work sites or in areas where you might not be able to guarantee the safety of your device.
Understanding the Limitations
Recognizing the limitations of your device’s built-in bubble level ensures you use it for appropriate tasks.
Detailed steps:
- Use the bubble level for basic home DIY projects like leveling picture frames or checking tabletop alignment.
- Avoid using it for tasks requiring professional-level precision, as your device’s sensors may not be as accurate as specialized tools.
Summary:
While the built-in bubble level is an excellent tool for quick checks and minor adjustments, it’s not a professional-grade instrument. Understand that there could be slight discrepancies and use a dedicated level when accuracy is non-negotiable.
Level Features in Orientation Lock Modes
Some level tools may behave differently depending on whether your phone’s orientation lock is enabled or disabled.
Detailed steps:
- Access your phone’s quick settings by swiping down from the top of the screen.
- Look for an icon labeled “Auto-rotate” or “Portrait.”
- Toggle this setting off to use the level in different orientations freely, or on to lock it to portrait or landscape.
Summary:
Adjusting orientation settings can provide flexibility in how you use the level feature but may also introduce user error if the level tool does not reorient itself correctly. Confirm the phone responds as expected when changing orientations.
Helpful Tips for Best Results
Achieve the best performance from your bubble level with these useful tips.
Detailed steps:
- Ensure your device’s screen and back are clean for stable placement.
- Use the level on multiple points of a surface to confirm consistency.
- Be aware of environmental factors like vibrations that could affect readings.
Summary:
Employing these simple tips can significantly enhance your leveling precision. Nevertheless, be aware of your surroundings and that excessive vibrations or uneven surfaces can lead to skewed readings even when all precautions are taken.
Utilizing Screen Rotation
Leveraging your phone’s screen rotation can provide different perspectives when using the level.
Detailed steps:
- Go to your device’s settings menu.
- Look for “Display,” then find “Screen rotation” or “Auto-rotate.”
- Enable this feature to allow the bubble level to adjust its layout based on how you hold your device.
Summary:
Using screen rotation can be helpful when trying to read the level from different angles, offering flexibility for various activities. However, the continuous change in display orientation can sometimes be disorienting or cause misreadings if it rotates unexpectedly.
In conclusion, your Android device is a versatile tool that extends beyond its primary communication functions, seamlessly transforming into a digital bubble level. This guide has walked you through several methods and tips to help you employ this feature for everyday leveling tasks. From built-in options using Google Search or Google Assistant to third-party apps and optimizing your device’s settings for maximum accuracy, there’s a solution to suit different needs. While it’s important to remember that your phone may not replace a professional-level tool for precision-heavy projects, it still serves as a convenient and surprisingly capable alternative for simple leveling jobs.
FAQs
Q: Does every Android phone have a built-in bubble level?
A: Most Android devices can access a bubble level either through Google Search, Google Assistant, or downloading a third-party app. However, not all have a pre-installed utility app with this feature.
Q: How accurate is the bubble level on an Android phone?
A: The accuracy can vary depending on your device’s sensors and calibration. For day-to-day use like hanging pictures, it’s typically accurate enough, but for tasks requiring professional-level precision, a real bubble level tool is recommended.
Q: Can I use the bubble level feature without an internet connection?
A: If your device already has a bubble level tool installed or you’ve downloaded a third-party app that doesn’t require an internet connection, then yes, you can use it offline. However, the Google Search method will require an active internet connection.