Steam is a popular platform for gamers, offering a rich array of video games and community features. But what if you have games that aren’t directly purchased or available through Steam? Fortunately, Steam lets you add such games to your library, allowing you to launch them directly from the Steam interface and use some of the platform’s features like the Steam Overlay and your Friends list. This can create a unified gaming hub for all your digital games. Now, let’s walk through the different ways to include your non-Steam games into your Steam library.
Add a Non-Steam Game Manually
If you have a game that isn’t available on Steam, you can still add it to your library manually. Doing this will let you launch the game from Steam and use the Steam Overlay feature.
- Open your Steam client and log in to your account.
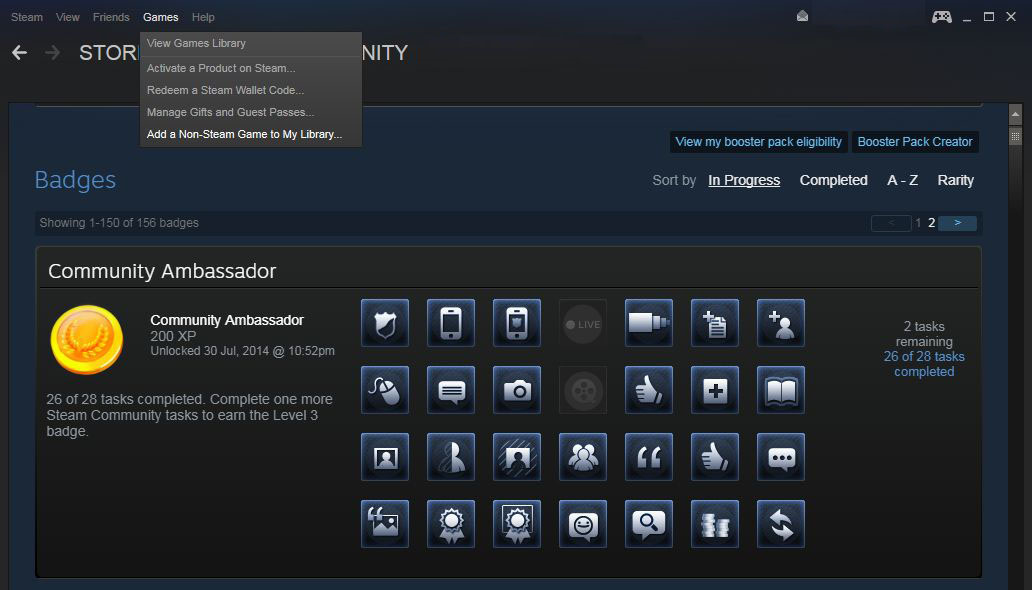
- Go to the “Games” menu at the top of the client.
- From the dropdown, select “Add a Non-Steam Game to My Library…”.
- A new window will pop up with a list of programs on your PC.
- Browse through the list and check the box next to the game you want to add. If it’s not listed, click on “Browse…” to find the game’s executable file (.exe) on your computer.
- Once you’ve selected the game, click on “Add Selected Programs”.
This manual addition allows you to access the game through Steam, but remember that it might not support Steam features such as achievements and trading cards. Additionally, game updates will not be managed by Steam.
Shortcut Creation for External Games
An alternative way to add games is by creating shortcuts inside the Steam client. This can help you organize even web-based games or applications outside your typical game library.
- Right-click on your desktop or in the folder where your game is located and create a new shortcut to the game’s executable file.
- After creating the shortcut, drag and drop it into the Steam client.
- The game will now show up in your Steam library as a shortcut.
By using this method, you can access your external games quickly, but it’s more of a quick launch option than integration; you won’t get automatic updates or Steam community features for these games.
Using Steam Grid Images
For games you’ve added manually to Steam, you can also personalize their appearance in your library with custom grid images.
- Find a custom image you want to use for your non-Steam game (the standard size is 460×215 pixels).
- Launch Steam, right-click on the non-Steam game in your library and select “Properties”.
- Click on “Choose Icon” and select the image file from your computer.
- Press “Open”, and then “Close”. Your non-Steam game will now display the custom image.
This provides a more visually pleasing library, but remember the image won’t automatically update with game updates like official Steam game images do.
Categorizing Non-Steam Games
To keep your library organized, you can categorize your non-Steam games just like you would with Steam games.
- Right-click on the game in your Steam library and select “Set Categories”.
- Create a new category or add the game to an existing one.
- Click “OK” to save the changes.
Organizing your games into categories helps maintain a clean and sorted library, but remember that these categories are only visible to you on your Steam client.
Launching via Steam with Custom Launch Options
For a more seamless experience, you can set custom launch options for non-Steam games to include command-line arguments that are typically used when launching the game directly.
- In your Steam library, right-click the non-Steam game and select “Properties”.
- Click on “Set Launch Options…”.
- Type in any command-line arguments or options required and click “OK”.
This allows for customized game starts, but it requires some knowledge


