Do you find yourself lost among the thousands of other streamers and find it hard to stand out? Live streamers often over-emphasize their content and need to remember that their personality is actually what makes them unique and sets them apart. One essential aspect of this online personality is your appearance.
If you are among the many live streamers looking to enhance their appearance and create a more polished, professional look on camera, use this blog as a guide as we explore some spectacular beauty filters on OBS and assist you in finally figuring out how to make yourself appear unique during your streams and add an edge to your online persona to shine bright!
Features of OBS Filters
OBS filters are additions that enhance and alter the appearance of your live stream.
- Skin Smoothing: To achieve a smoother complexion, beauty filters may automatically detect and minimize the appearance of blemishes, wrinkles, and uneven skin tones.
- Face Slimming: Some filters provide users the ability to subtly shrink their faces, enhancing the proportions and features of their faces.
- Enhancing Eyes: It can make them appear brighter and more defined, which increases their attractiveness.
- Correction of Skin Tone: These filters can balance and enhance skin tones for a more attractive and natural appearance.
- Virtual Makeup: A number of filters offer virtual makeup options that let users apply digitally applied lipstick, eyeliner, or other makeup effects.
- Customization: A number of OBS’s beauty filters let users change the strength of each effect to get the look they want.
How to Use Beauty Filters in OBS
Follow these methods to apply beauty filters in OBS and improve your appearance when you’re on camera:
1. Download OBS Studio: Download and install OBS Studio from the official website if you haven’t already. There are versions of OBS Studio for Windows, macOS, and Linux.
2. Install Required Plugins: While OBS doesn’t have built-in beauty filters, you can add this functionality using third-party plugins. Some popular plugins include:
- Snap Camera: Snap Camera is a free desktop application from Snapchat that offers a wide range of creative and beauty filters.
- VirtualCam Plugin: The VirtualCam plugin for OBS allows you to create a virtual camera device that can be used in OBS.
3. Configure Your Webcam: After setting up Snap Camera or another external filter source, adjust OBS’s webcam source. Here’s how to do it:
- Activate OBS Studio.
- Click the “+” icon to expand the “Sources” section, then choose “Video Capture Device.”
- From the list, select your webcam, then click “OK.”
- Choose the virtual camera source (Snap Camera or the VirtualCam) as your device in the properties window.
4. Apply Beauty Filters: After setting up your webcam source, launch Snap Camera or your chosen beauty filter application. Choose your preferred beauty filter in Snap Camera from the list of choices. To get the look you want, adjust the strength of each effect as necessary.
In OBS Studio, the filtered webcam feed from Snap Camera will instantly show up. To further personalize your OBS scene and provide a visually pleasing stream, add overlays, text, or extra sources. Finally, don’t forget to test your beauty filter settings in OBS before going live.
10 Best Beauty Filters for Live Streaming on OBS
- Snap Filter
- You can add a variety of entertaining and imaginative filters to your live stream using Snap Camera, a free desktop tool from Snapchat. It has cosmetic filters that can even out skin tone, open up the eyes, and add different effects.
- Download the Snap Camera app, choose your preferred filter, and then specify “Snap Camera” as your video source in OBS to use Snap Camera with OBS.
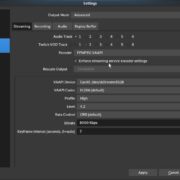
- Broadcast by NVIDIA
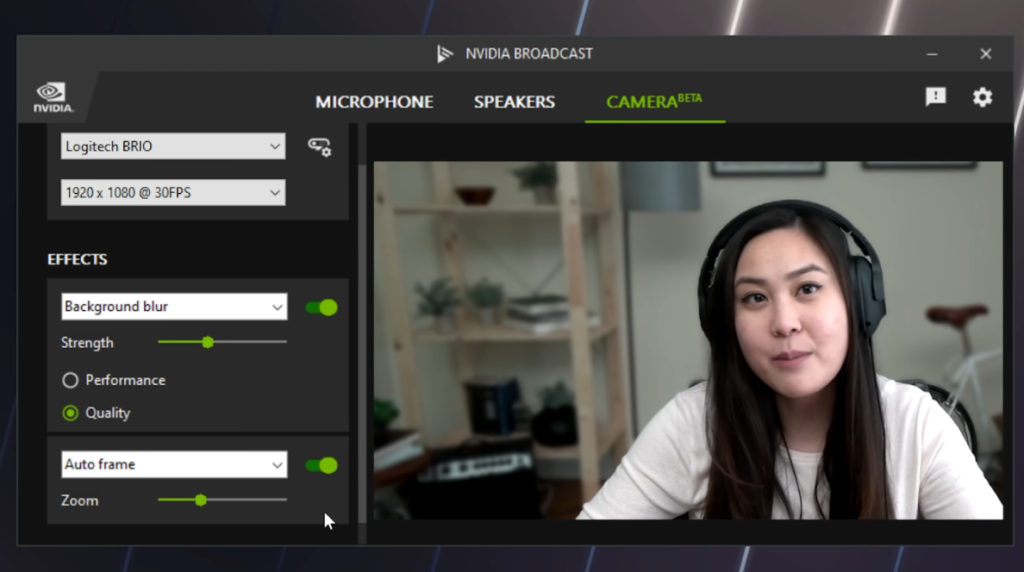
- You can use NVIDIA Broadcast if you have an NVIDIA RTX graphics card. It features AI-powered effects that might improve your live streaming setup, such as background removal, auto framing, and virtual green screen.
- As a virtual camera source, NVIDIA Broadcast may be connected straight to OBS.
- XSplit VCam

- Another program for virtual cameras that provides blurring and background removal effects is XSplit VCam. Even though it may not have a wide selection of aesthetic filters, it can help your stream look better overall.
- XSplit VCam may be configured in OBS as a virtual camera source, just like NVIDIA Broadcast.
- FaceRig

FaceRig is a real-time facial animation program that enables users to utilize their webcam to assume the appearance of a variety of digital avatars or characters.
In the same way that certain camera apps or video conferencing software could include skin-smoothing or facial augmentation filters, FaceRig doesn’t come with “beauty filters” by default. FaceRig’s main emphasis is on facial tracking and animation instead.
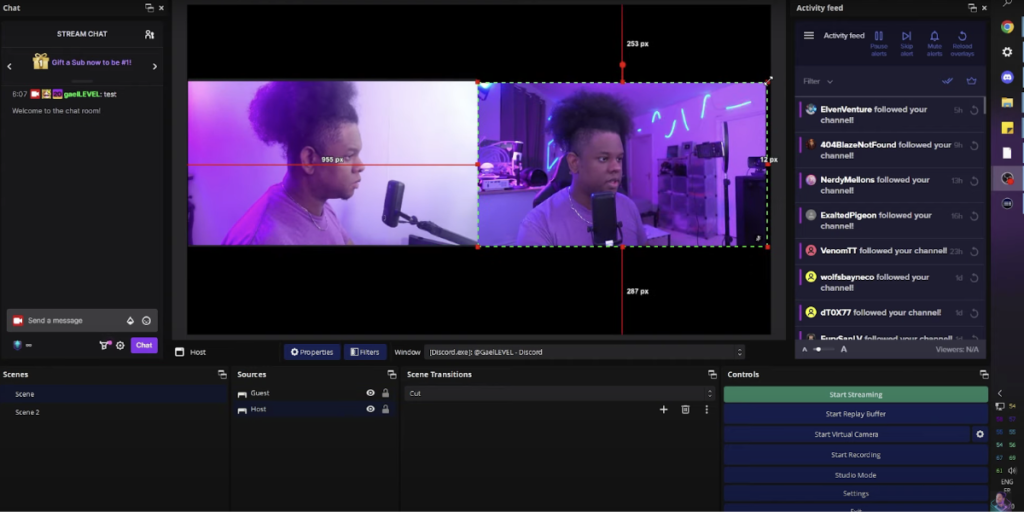
- Crop and Scale
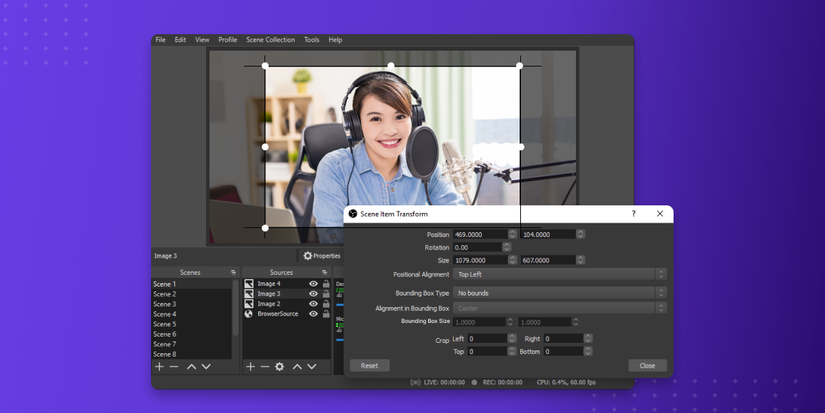
You can crop and scale your video sources to focus on specific areas of the frame or adjust their size to fit your desired layout while live streaming.
- Chroma Key (Green Screen)
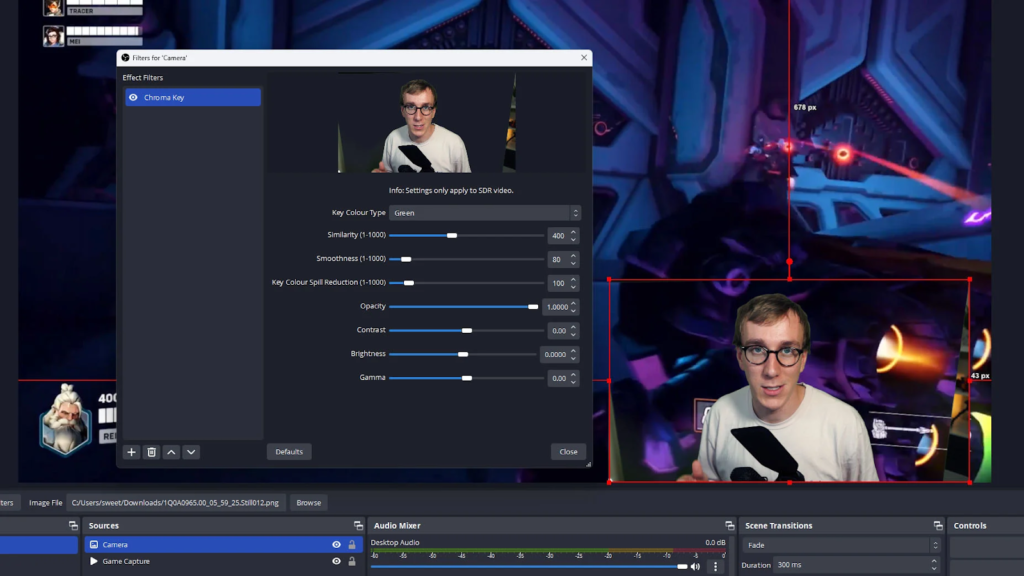
If you’re looking to have a green screen setup, OBS allows you to apply chroma key effects to remove the green background and replace it with a custom image or scene, creating a more professional-looking stream.
The Key Colour Type can be chosen in these filter settings in OBS. It also instructs the programme which colors to remove from the signal and enables live streamers to cherry-pick the color of the screens they’re using.
- Color Correction
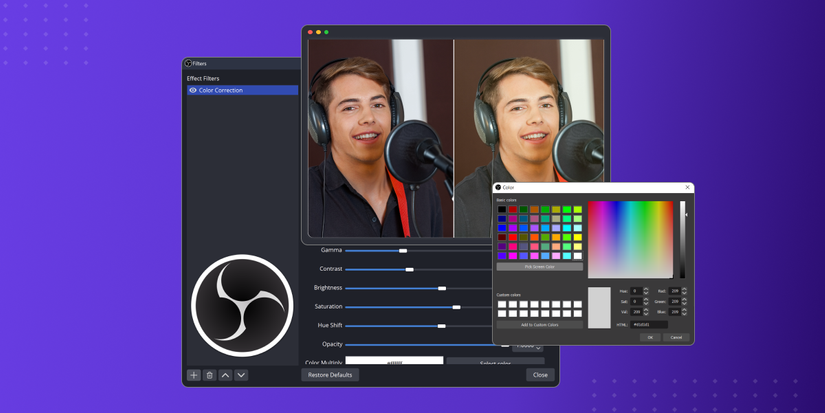
OBS enables you to modify a variety of your video sources’ color attributes. If you want to improve the appearance of your webcam stream or other video sources, you can adjust the brightness, contrast, gamma, and saturation levels.
With the help of this webcam filter for OBS, you may customize the video feed coming from your camera. With the help of these options, you may alter the brightness and contrast of your video as well as the color settings, creating a more vibrant image.
If you want to make a theme to go with your OBS overlays, this filter is also helpful. You can change the webcam feed’s color to one that more closely resembles your visual overlay.
- OBS LUTs
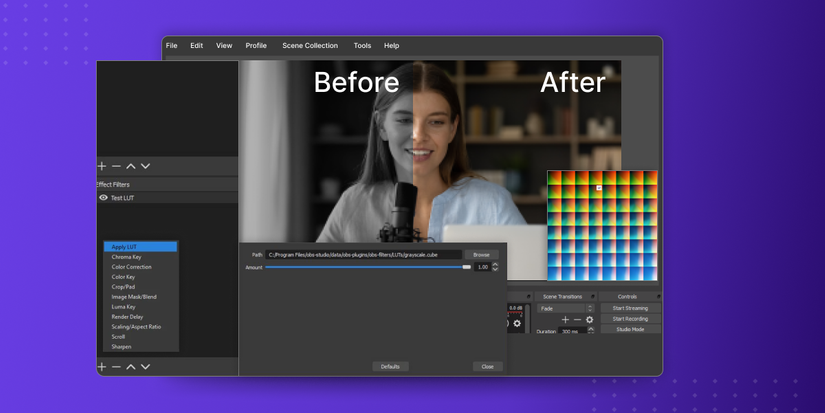
These filters enable an appearance for your webcam that is very similar to a film. Basic LUTs are included with OBS. By clicking Browse after choosing the option ‘Apply LUT’, you can locate these.
Additionally, you can also play around and add custom filters as per your preference to the search to get results that are more tailored to your preferences if you’d like something a little more spectacular.
- Transitions
To flip between scenes smoothly, OBS offers a variety of transition effects. These transitions, while not precisely “filters,” can give your stream more visual interest.
- Logitech Capture
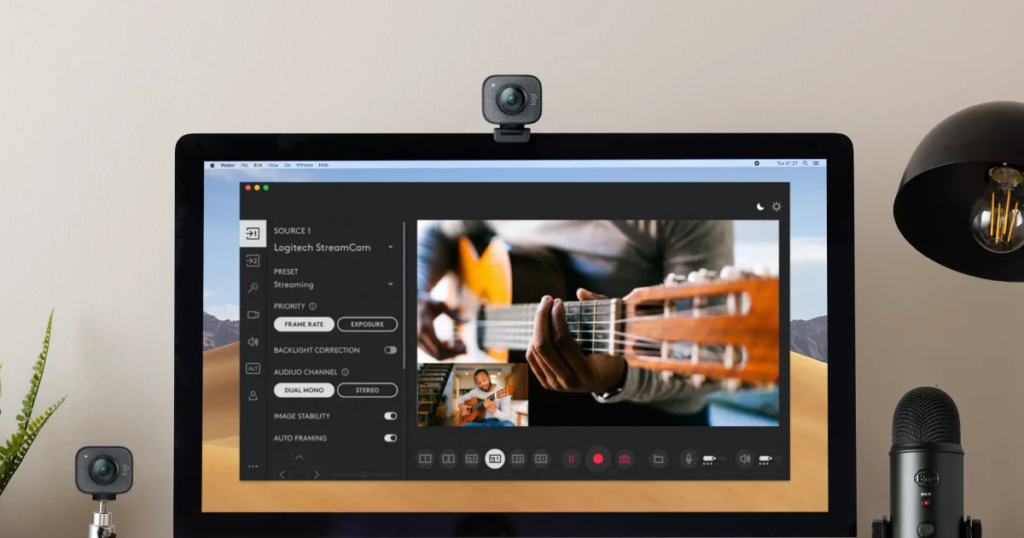
The Logitech Capture program offers a number of functions, such as color correction, filters, and facial enhancements, if you’re using a Logitech webcam. Install Logitech Capture, then choose it as your OBS video source.
Bonus Tips
While beauty filters might improve your on-camera appearance, it’s important to apply them sensibly and responsibly in order to keep your audience’s trust and authenticity:
- Balance: Refrain from using too many filters that significantly change how you seem. Instead of trying to reinvent yourself, use them to highlight your natural traits.
- Transparency: When discussing the usage of beauty filters with your audience, be forthright and honest. Recognize when you’re employing them and clarify that their purpose is to improve visual quality, not fool viewers.
- Increase Intensity: Constantly check your filter settings and increase or decrease the intensity as necessary. Filters that are too harsh can distract from or diminish the authenticity of your content.
- Engage with Your Audience: Let your audience know that you’re using beauty filters, and be open to their feedback and preferences.
FAQs
Can I use the ManyCam filter on OBS?
Absolutely! Just install ManyCam, set up your preferred filter settings, and then choose ManyCam as your video source in OBS to utilize ManyCam with OBS.
How long does it take to set up these filters in OBS?
Configuring all these filters is pretty easy and takes only about 5 to 15 minutes to setup.
Are these filters free or paid?
All of the above-mentioned filters are free except for FaceRig, which is a paid software.
How can I add additional filters from the camera to OBS?
By selecting Filters from the context menu when you right-click on the camera source in OBS, you may quickly apply a camera filter.
Then you select the small (+) button next to the effect filter. There you can find a complete list of all the OBS filters.